With the addition of win conditions, support for multiple puzzles, and the ability to rotate pieces, this basic jigsaw puzzle game is almost done.
Scaling Support
However, it would be a nice effect if the pieces scaled up slightly when they were being moved, as if they were being lifted towards the screen. It would make it clear to the player which piece they are currently interacting with, useful when there’s a pile of overlapping pieces.
SpriteKit comes with a robust set of convenience actions that would make this very easy to apply but I’m all about the ECS so I’ll do it the hard way instead.
I want the animations to be interruptible. If the user touches a piece, it should start scaling up. If they then let go before that scaling up animation is complete, a new scale down animation should immediately begin from the scale that the piece reached when the gesture ended.
In order to calculate the correct scale every frame, I’ll need to keep track of a bunch of different properties:
- The starting scale
- The difference between the starting scale and the target scale
- The total duration, calculated by dividing the difference by a scale amount per second property
- The elapsed time
Adding a Scale Component
I’ll create a new component in the Shared folder called ScaleComponent.swift and make sure that it targets both the macOS and iOS versions of the game, then replace the contents with:
import GameplayKit
import SpriteKit
class ScaleComponent : GKComponent {
	// 1.
	let scaleAmountPerSecond : CGFloat = 2
	// 2.
	var targetScale : CGFloat = 1 {
		didSet {
			originalScale = currentScale
			difference = targetScale - currentScale
			duration = TimeInterval(abs(difference) / scaleAmountPerSecond)
			currentTime = duration
		}
	}
	// 3.
	var originalScale : CGFloat = 1
	// 4.
	var difference : CGFloat = 0
	// 5.
	var currentTime : TimeInterval = 0
	var duration : TimeInterval = 0
	// 6.
	var currentScale : CGFloat = 1
}
- This is a fixed property that defines how quickly a piece should scale up or down. In this case it is set to double the size of the sprite every second.
- The
targetScaleproperty is what the other systems in the game should use when they want to animate the scale of an entity. It can be changed at any point and, as soon as it is changed, a new animation should begin (effectively discarding the current one). It does this by setting theoriginalScale, thedifference, theduration, and thecurrentTimeproperties immediately. - The
originalScaleis set to whatever thecurrentScalewas at the time the animation was triggered (i.e. it is the starting scale of the animation). This will remain constant throughout the animation. - The
differenceproperty stores the difference between the starting scale and target scale and is used throughout the animation to work out how much additional scale should be added to the original scale at any given moment. It remains constant throughout the animation - The
currentTimeis used to keep track of how much time has elapsed. It starts out as the same as the duration and is decremented by the delta time during the animation. The total duration remains constant, and is needed to normalise the current time to give a percentage of the animation completed, which can then be used with thedifferenceproperty to calculate how much additional scale should be added to theoriginalScaleto give thecurrentScale. - The
currentScaleis constantly updated throughout the animation and this is the value that is applied to the sprite each frame.
If I wanted to make different entities have different scaling speeds, I could make the scaleAmountPerSecond into a variable and maybe add an initialiser but for this game I want all pieces to behave in the same way.
In GameScene.swift, under let rotationComponent = RotationComponent(currentRotation: randomRotation), I’ll add this new component to each piece:
let scaleComponent = ScaleComponent()
puzzlePiece.addComponent(scaleComponent)
Applying the Scale
The Render system is the system where transform properties should be applied. In SpriteComponent+Render.swift, I’ll add the following to the bottom of update(deltaTime:):
// 1.
if let hasScale = entity?.component(ofType: ScaleComponent.self), hasScale.currentScale != hasScale.targetScale {
	// 2.
	if hasScale.currentTime > 0 {
		// 3.
		hasScale.currentTime -= seconds
		// 4.
		let factor = CGFloat((hasScale.duration - hasScale.currentTime) / hasScale.duration)
		// 5.
		hasScale.currentScale = hasScale.originalScale + (hasScale.difference * factor)
	} else {
		// 6.
		hasScale.currentScale = hasScale.targetScale
	}
	// 7.
	self.sprite.setScale(hasScale.currentScale)
}
- First make sure that the entity has a scale component. There should also be a difference between the current scale and the target scale. If there isn’t, then no work needs to be done.
- The
currentTimeproperty counts down from the total duration. If it is at 0 or below, then the animation has ended. - Reduce the
currentTimeby the delta time between this frame and the last frame. - Normalise the duration to get a value between 0 and 1 that defines how much of the animation has elapsed.
- Multiply this normalised duration by the difference between the original scale and the target scale to get the amount changed for this frame, then add this to the original scale to get the absolute value of the current scale. Set this to the scale component’s
currentScaleproperty. - Alternatively, the
currentTimeis at 0 or below meaning the animation has ended. If this is the case, then make thecurrentScaleequal to thetargetScale. This ensures that the comparison at the start of theif letstatement will fail next time around. - Whatever happens in this statement (whether the animation has completed or not), the new scale needs to be applied to the sprite.
Scaling While Moving
This scaling animation should only happen when pieces are being moved. In InteractionComponent+Interact.swift there’s the handleMove(state:point:) method that is called when a piece is moved. I’m already doing a test to see if the interaction began at any point since the last frame, so I can use this to start the animation. Under if self.didBegin { I’ll add:
entity?.component(ofType: ScaleComponent.self)?.targetScale = 1.2
Below that I test the current state of the interaction with a switch statement. In the .ended case, I’ll add:
entity?.component(ofType: ScaleComponent.self)?.targetScale = 1
zPosition Handling
There is still a major problem with the game as it stands. If a player interacts with a piece and moves it past another piece with a higher zPosition, then the piece being moved will disappear underneath this second piece. This breaks the illusion of picking up and dropping a piece, an illusion that I just emphasised using scaling.
I’m going to break the solution to this problem into two different parts.
Fixing the zPosition During Movement
When the interaction begins, I’ll store the current zPosition of the piece and then set the sprite’s zPosition to an arbitrarily large number. Then, when the interaction ends, I can set the zPosition of the sprite back to the stored value.
In SpriteComponent.swift, I’ll create a new property:
var currentZPosition : CGFloat = 0
By the time the didAddToEntity() method is called, the puzzle pieces should have been given a zPosition by the scene, so I can use this method to set the currentZPosition to the sprite’s assigned position. At the end of the didAddToEntity() method, I’ll add this line:
self.currentZPosition = self.sprite.zPosition
Note: this is a bit of a shortcut and far from ideal—it would be better for encapsulation if the intended z-position was passed to the initialiser when the sprite component was initialised. The sprite component should not have to rely on the fact that the z-position has been correctly set by the time it is added to an entity.
Then, in InteractionComponent+Interact.swift, I’ll update the handleMove(state:point:) method. In the self.didBegin { statement, under entity?.component(ofType: ScaleComponent.self)?.targetScale = 1.2, I’ll add:
entity?.component(ofType: SpriteComponent.self)?.sprite.zPosition = 1000
And in the switch statement at the bottom, in the .ended case:
if let hasSpriteComponent = entity?.component(ofType: SpriteComponent.self) {
	hasSpriteComponent.sprite.zPosition = hasSpriteComponent.currentZPosition
}
This will reset the sprite’s zPosition to what it originally was after the interaction ends.
So moving pieces now works as intended. However, letting go of them over pieces with higher z-positions causes them to land underneath those pieces in an unrealistic way.
Fixing the z-position of Dropped Pieces
So far, I’ve been dealing exclusively with points—the interactions all happen around individual points, as does getting hold of an entity that is the target of an interaction.
However, in order for things to feel correct, I can’t just get the nodes under a single point and adjust their zPositions. This would miss pieces that should be partially obscured by the dropped piece.
Instead, I need to get all of the nodes that are under the entire piece that is being dropped, which means I need to start dealing with frames.
In the shared GameScene.swift, I’ll add this method:
// 1.
func nodes(within region : CGRect ) -> [SKNode] {
	// 2.
	var foundNodes = [SKNode]()
	for node in self.children {
		// 3.
		if node.entity == nil {
			continue
		}
		// 4.
		if node.frame.intersects( region ) {
			foundNodes.append(node)
		}
	}
	// 5.
	return foundNodes.sorted(by: { (node1, node2) -> Bool in
		return node1.zPosition > node2.zPosition
	})
}
- This method takes a
CGRectthat represents the dropped piece’s frame and returns an array ofSKNodesthat intersect with that frame. - Create an empty array and then loop through every node in the scene.
- In order to make things more efficient, immediately ignore any node that doesn’t have an attached entity.
- If it does, use the
intersects()method onCGRectto find out if any part of that node is within the dropped piece’s frame. If so, add it to the array. - Finally, sort all of the nodes found within or touching the dropped piece’s frame by their
zPositionproperty. This will create an array of nodes with the piece with the largestzPositionfirst.
Now that I can get a list of nodes under a given rect, I need to adjust all of their zPositions. Under the above method, I’ll add this method:
func fixZPosition() {
	// 1.
	guard let hasPiece = self.entityBeingInteractedWith?.component(ofType: SpriteComponent.self) else {
		return
	}
	// 2.
	let nodesWithinFrame = nodes(within: hasPiece.sprite.frame)
	// 3.
	guard entities.count > 1 else {
		return
	}
	// 4.
	var zPositions = nodesWithinFrame.filter() { $0.zPosition < 1000 }.map() { $0.zPosition }
	// 5.
	zPositions.append(hasPiece.currentZPosition)
	// 6.
	let sortedZPositions = zPositions.sorted() { $0 > $1 }
	// 7.
	for (idx,entity) in nodesWithinFrame.enumerated() {
		// 8.
		entity.entity?.component(ofType: SpriteComponent.self)?.sprite.zPosition = sortedZPositions[idx]
		entity.entity?.component(ofType: SpriteComponent.self)?.currentZPosition = sortedZPositions[idx]
	}
}
- Make sure that there is a piece being interacted with and that it has a sprite component.
- Call the
nodes(within:)method, passing the current piece’s frame, to get an array of nodes within the edges of that frame. - There needs to be at least two nodes in the array (one of them will always be the piece being dropped) or else the piece is being dropped over a completely blank section of the board and no adjustments need to take place.
- Filter out the current entity (its
zPositionwill be set to 1,000 during an interaction), then map the remaining entities to get an array of just theirzPositionsasCGFloats. - Add back the current entity’s usual
zPosition(i.e. thezPositionit has when it’s just sitting on the board, not the 1,000 that it’s currently set to). - Sort the entire array of z-positions in descending order.
- Finally, go through the original node array (again, this includes the current piece, which will be the first item in the array) then use the index of that piece to get the value at the same index in the
sortedZPositionsarray and apply it to both the sprite (so it takes effect immediately) and thecurrentZPosition(so it will take effect in future interactions).
Applying the Fix
In GameScene+touch.swift, there’s a handlePan(_ recogniser:) method that deals with pan gestures. At the bottom of this method, in the .ended case of the switch statement, I’ll add this immediately after the case declaration:
case .ended:
	self.fixZPosition()
Similarly, in GameScene+mouse.swift, there’s the mouseUp(with:) method that is called when the mouse button is released. Immediately after the opening brace, I’ll add:
self.fixZPosition()
This now sorts all of the zPositions within a given rect and applies them in order starting with the piece being dropped before continuing to the pieces underneath. While it assigns new zPositions to all the pieces, it still keeps their relative position in the “stack” of pieces giving the effect I want.
Font Scales
There’s one small bug remaining. When the “You Win!” text shows on a vector-based puzzle, it is twice the size than when it is shown on a raster-based puzzle.
This is because, when setting up the scene for a raster-based puzzle, the actual size of the scene is twice that of a vector-based puzzle.
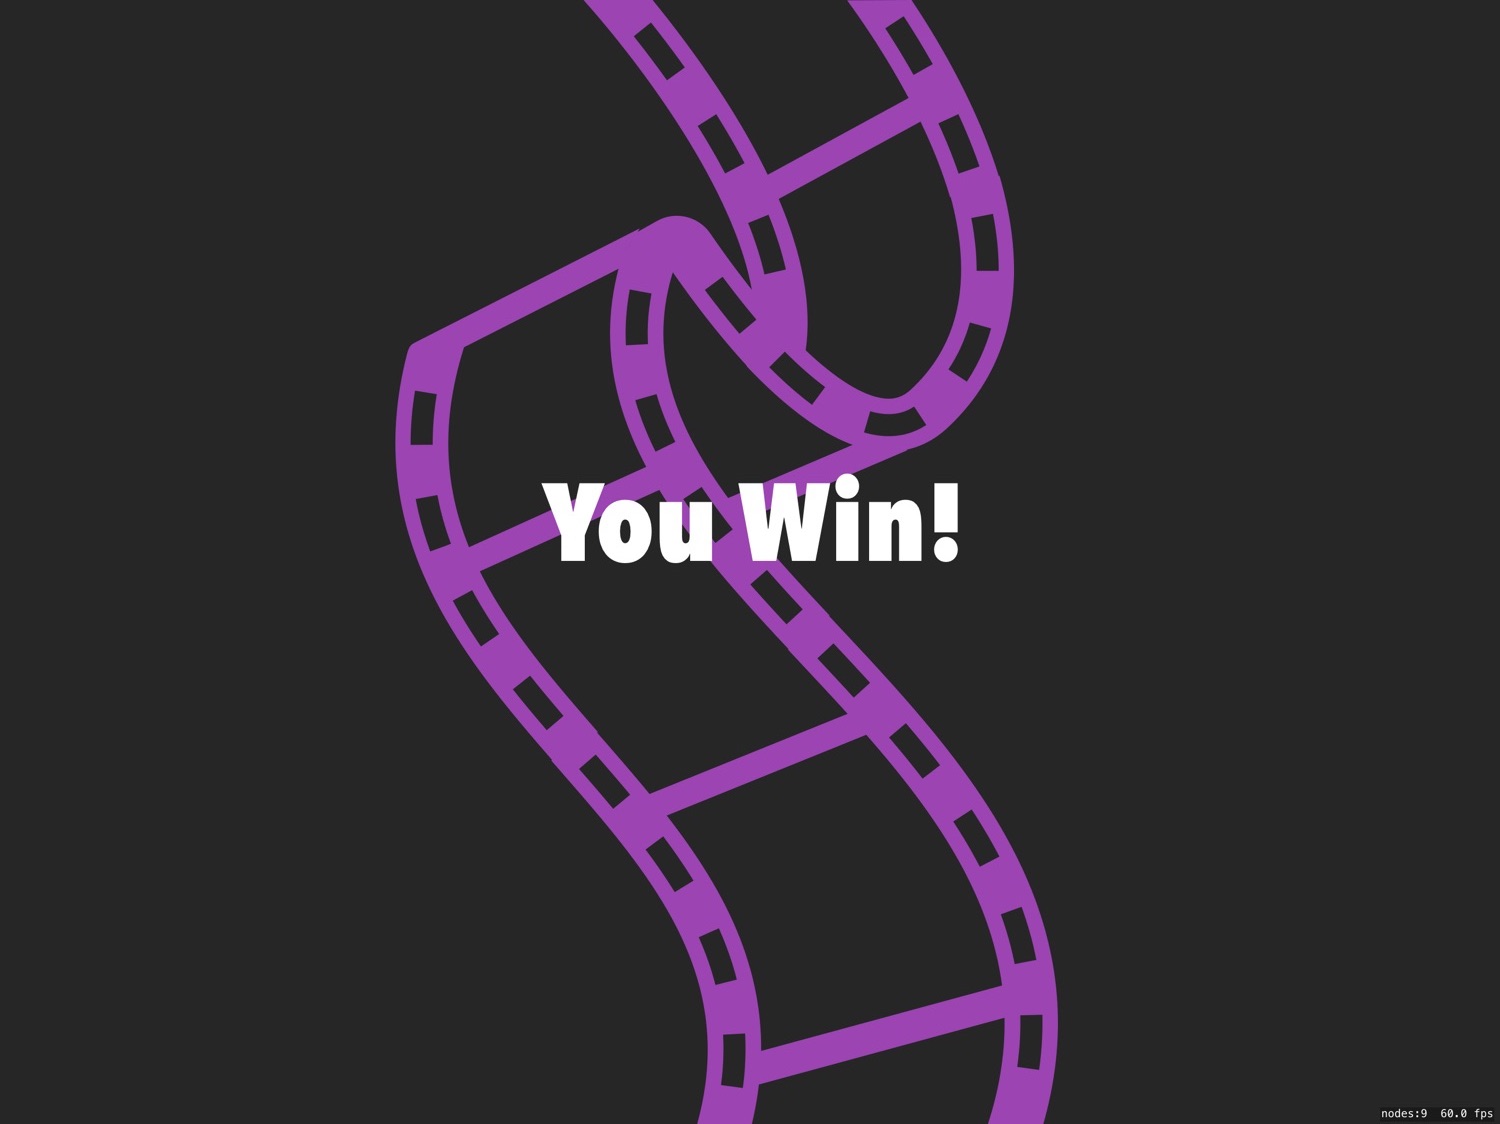
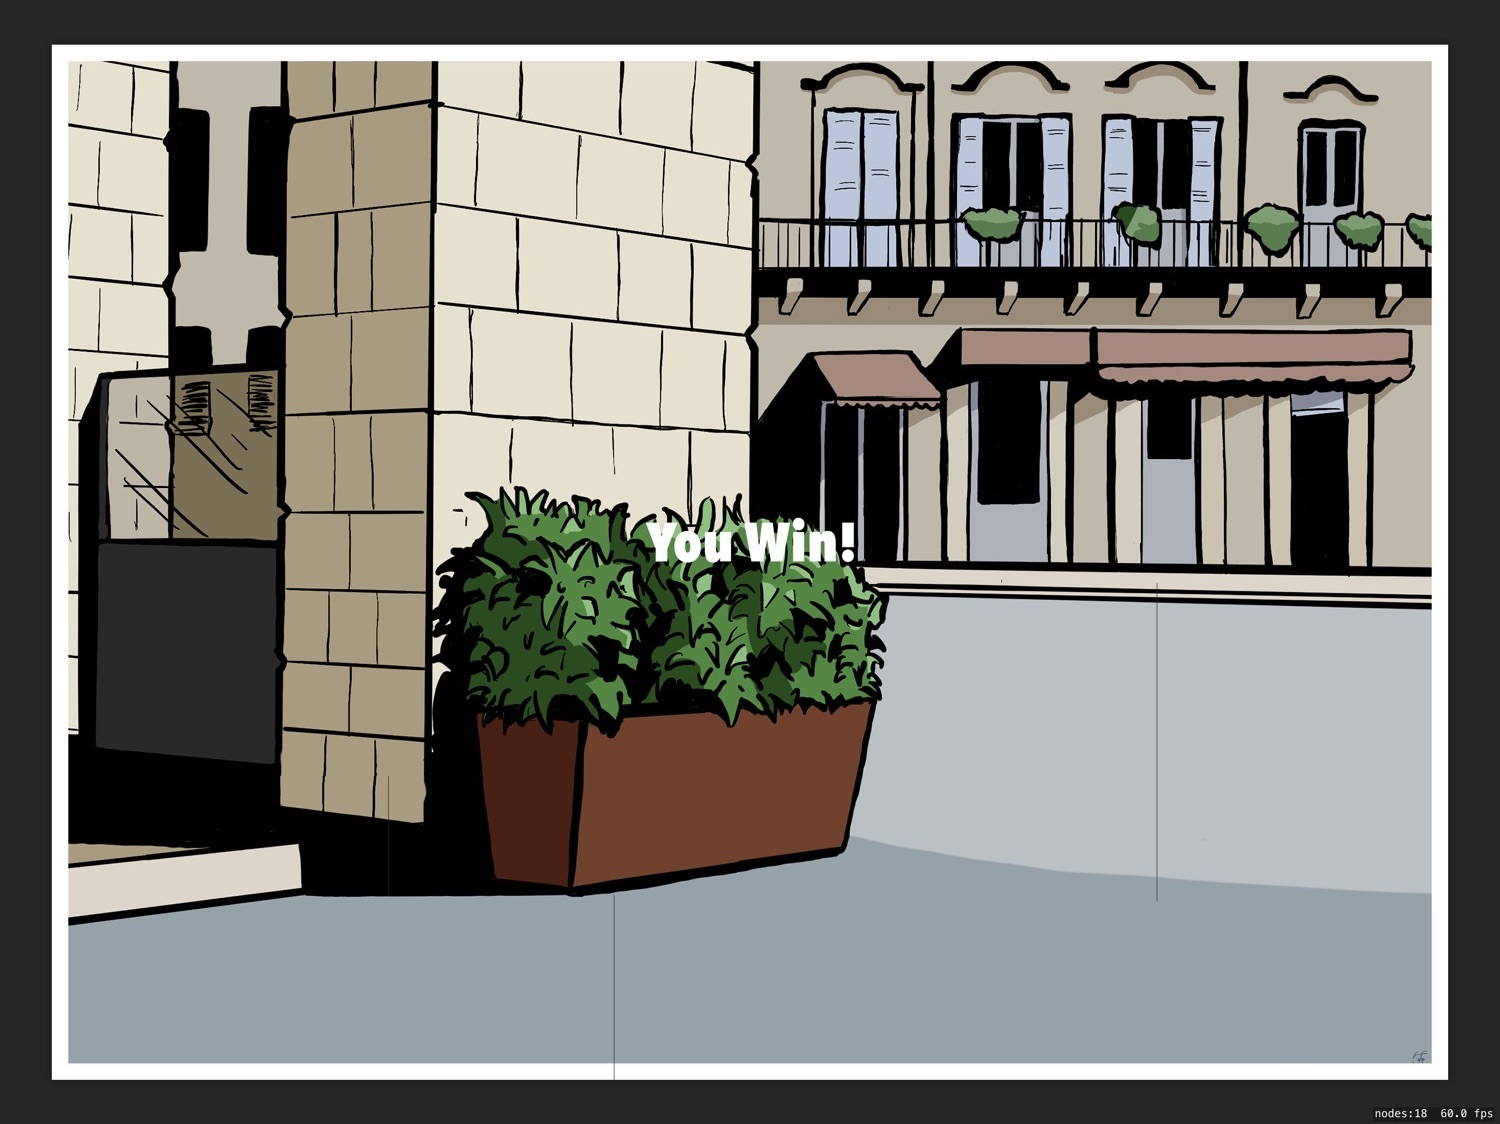
In order to fix this, in GameScene, I’ll replace self.winLabel.fontSize = 100 with:
self.winLabel.fontSize = ( self.puzzle.type == "vector" ) ? 100 : 200
Now the “You Win!” label will show correctly for either of the two puzzle types.
Game Over
That’s it for this simple jigsaw puzzle game! I now have a working game engine that supports Macs, iPads, and iPhones. It can handle moving and rotating pieces, detects win conditions, and moves between an arbitrary number of puzzles.
I also have an automated workflow for generating new puzzle assets from either vector-based or raster-based Photoshop documents.
In the next post I’ll go through a review of everything I’ve learned developing this game, including the many, many things I would do differently. I’ll also briefly cover everything that I would need to do to go from here to releasing it as an actual app.