I have been working on a library of basic components that is designed to work for many different types of game. It abstracts away platform-specific inputs, converting them into platform-agnostic interactions.
Taking this a step further, I have expanded this into an instruction system that takes advantage of Swift’s features to create an Instruction struct. This struct uses pseudo-English formatting that makes adding actions to entities simple and easy to read:
let instructionComponent = InstructionComponent()
let instruction = Instruction("Example Label", wants: .itself, to: .explode)
instructions.add([instruction], for: .primary)
let handlerComponent = VerbHandlerComponent()
instruction.handler = handlerComponent
itselfLabelEntity.add(instructionComponent)
itselfLabelEntity.add(handlerComponent)
In this example, when the Example Label entity detects a primary interaction (single touch on iOS, left mouse click on macOS) within its bounds, it will send a message to itself that it has detected this primary interaction. It will then retrieve the instructions for that interaction, which tell it that it should explode.
The Instruction Struct
Here’s what the init function of this Instruction struct looks like:
init( _ senderName : String, wants object : InstructionObject, to verb : Verb, _ valueType : ValueType = .none, and interruption : Interruptable = .canBeInterrupted )
The senderName parameter is a string that represents the name of the entity that sent the instruction, and is the subject of this pseudo-English sentence.
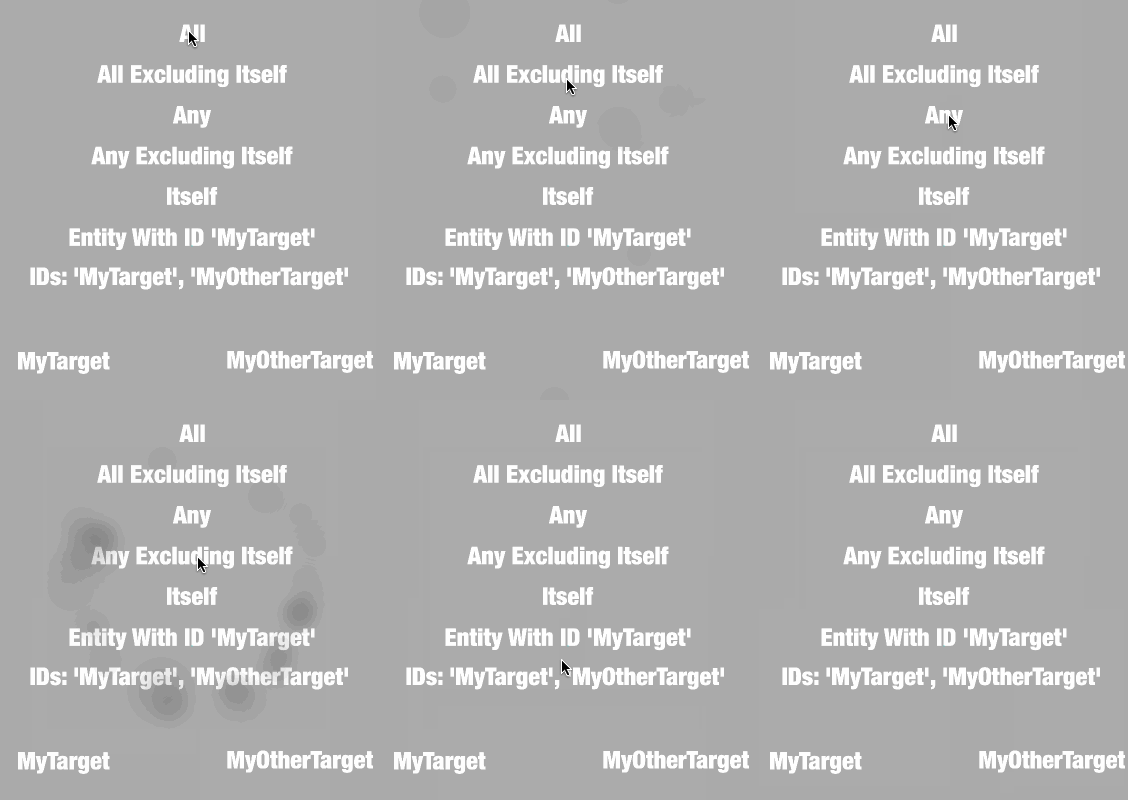
The object parameter then takes an option from a set defined by the library and is the object of the sentence. The options loosely represent pronouns:
enum {
	case itself
	case all
	case allExcludingItself
	case any
	case anyExcludingItself
	case entityNamed(String)
	case entitiesWithNames([String])
}

The verb parameter takes a Verb struct that is designed to be expanded outside the library (see below).
The valueType paramater works in conjunction with verbs to give more context to the action. They can be populated with specific values by the user:
public enum ValueType {
	case none
	case currentPoint
	case specificPoint(CGPoint)
	case time(TimeInterval)
	case name(String)
}
The .currentPoint case is a special case. The system replaces this with a .specificPoint that represents the point at which the interaction was detected.
The naming convention for Verb properties is that they should take into account any values that might follow them. For example, a verb that will have a .time(TimeInterval) value attached could be named .waitFor so that it reads like a sentence:
Instruction("MyCharacter", wants: .itself, to: .waitFor, .time(3))
Lastly, the interruption parameter makes it clear to the system whether instructions that are not instantaneous can later be interrupted by another interaction of the same type.
public enum Interruptable {
	case canBeInterrupted
	case shouldNotBeInterrupted
}
(Originally, the shouldNotBeInterrupted case was named cannotBeInterrupted. While shouldNotBeInterrupted is more verbose, the difference between the two cases is much clearer when reading.)
Verbs
Verbs are where all of the actions are defined.
Individual games can extend the Verb struct (which is built based on the answer to this helpful SO answer) to define their own custom actions:
extension Verb {
	static let explode = Verb(rawValue: "explode")
}
These verbs can then be accepted by the Instruction struct.
Making Things Happen
To implement this explode verb, I would create a class that conforms to the VerbHandler protocol. This can be any class, but it can be useful to make it a component as the interactions can be targeted to specific entities.
The entity that this receiving component belongs to would then be the same entity targeted by the instruction, making it easier to perform whatever verb the instruction contained.
The VerbHandler protocol looks like this:
public protocol InstructionReceiverHandler : class {
func setupNext( instructions : [Instruction], for interaction : Interaction ) -> [Instruction]?
func isTaskFinished( _ task : Instruction, elapsed seconds : TimeInterval) -> Bool
}
The setupNext(instructions:for:) method sends an array of instructions for a given interaction. This array contains a group of instructions that are meant to be executed in parallel.
The isTaskFinished(_) asks the handler whether or not a specific instruction has finished running. This allows for instructions that take arbitrary amounts of time to finish running before the system sends the next set of instructions.
It also has an elapsed time parameter, which makes it easy to create verbs that only last for a fixed amount of time.
For the explode verb above, the implementation is relatively simple:
func setupNext(instructions: [Instruction], for interaction: Interaction) -> [Instruction]? {
	for instruction in instructions {
		switch instruction.verb {
		case .explode:
			guard let emitter = SKEmitterNode(fileNamed: "Explode") else {
				break
			}
			let delayAndRemoveAction = SKAction.afterDelay(2, performAction: SKAction.removeFromParent())
			emitter.zPosition = 10
			if let point = self.entity?.component(ofType: PositionComponent.self)?.currentPosition {
				emitter.position = point
			}
			self.entity?.component(ofType: NodeComponent.self)?.node.scene?.addChild(emitter)
			emitter.run(delayAndRemoveAction)
		default:
			break
		}
	}
	return nil
}
func isTaskFinished( _ task : Instruction, elapsed seconds : TimeInterval ) -> Bool {
	return true
}
In this example, the isTaskFinished(_:elapsed:) method never gets called, because the setupNext(instructions:for:) method always returns nil (meaning the action is instantaneous as far as the system is concerned).
Performing Ongoing Tasks
Returning an array of instructions from the setupNext(instructions:for:) tells the system that the instructions contained in the array are not instantaneous. The system holds on to these instructions and then every frame asks the delegate if each of these instructions has finished.
Only when the delegate tells it that that all instructions for a given group are finished will the system call the setupNext(instructions:for:) method for that same interaction.
(At the moment there are three different interaction types [primary, secondary, and pan], so there can be three groups of instructions running at the same time.)
A More Complicated Example
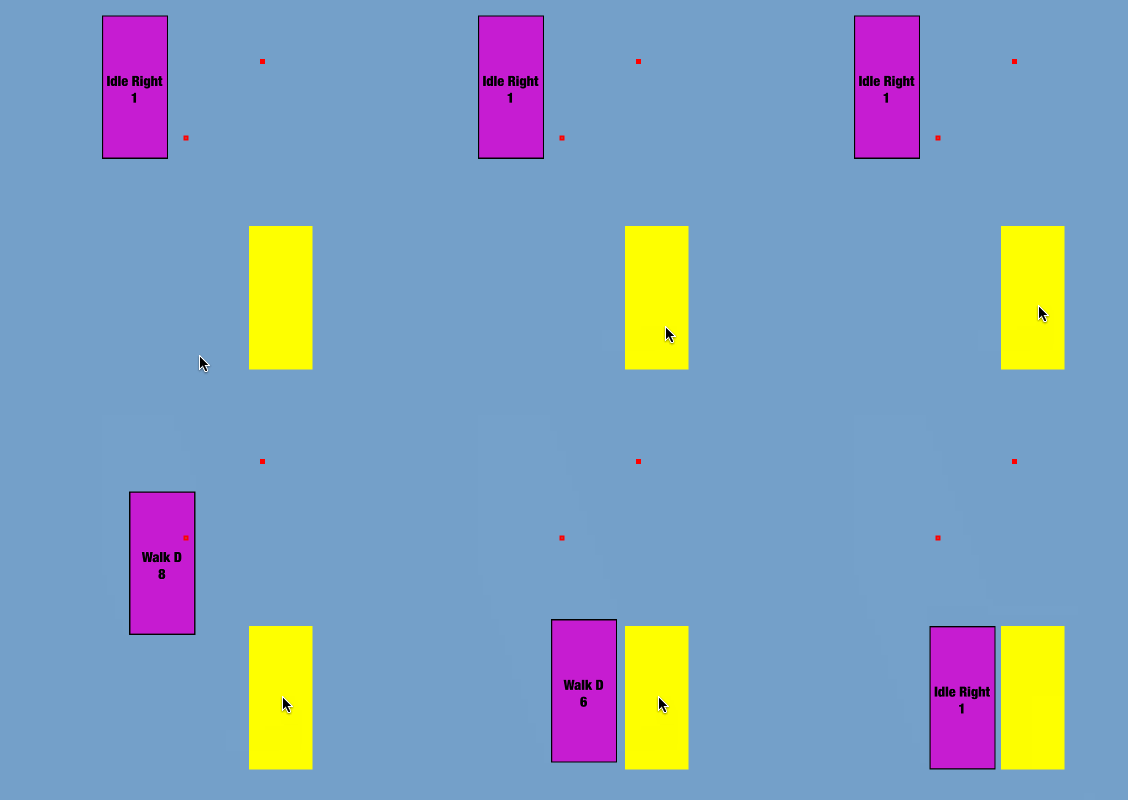
This system is built with adventure games in mind. One of the more frequent things that will happen is that a player will right click or double tap on a non-player character in order to begin a dialogue.
If the player character is not standing next to the NPC when the talk verb is initiated, then I want the player character to walk over to the NPC before beginning the dialogue.
However, if the player character is on its way to the NPC, but the player clicks/taps elsewhere in the scene, then I want the player character to immediately start walking to the new location. If the player character has already started the dialogue and the player clicks/taps elsewhere in the scene, then the player character should not walk to the new location.
Here’s how that could be set up:
let instructionComponent = InstructionComponent()
// 1.
let moveInstruction = Instruction("NPC", wants: .entityNamed("Player"), to: .moveTo, .currentPoint)
// 2.
let talkInstruction = Instruction("NPC", wants: .entityNamed("Player"), to: .talkToThem, and: .cannotBeInterrupted)
// 3.
instructions.add([moveInstruction], for: .secondary)
instructions.add([talkInstruction], for: .secondary)
// 4.
let handlerComponent = NPCHandlerComponent()
instruction.handler = handlerComponent
npcEntity.add(instructionComponent)
npcEntity.add(handlerComponent)
- The NPC node will receive the interaction (the right click or double tap). It therefore needs to be the one to define what happens when that interaction is detected. Here, I tell it that it should move the “Player” entity to wherever the tap was received (which will be somewhere within the NPC’s bounds).
- When this move action is completed, the “Player” entity should talk to the “NPC” entity. The last parameter tells the system that this instruction cannot be interrupted by another instruction. The
moveInstructioncan be interrupted (e.g. by the player tapping or clicking elsewhere in the game area, effectively cancelling both instructions). - The instructions are added separately as individual arrays, as they are to be performed one after the other.
- Individual entities or different types of entity can have their own distinct handlers to make code organisation easier.
With the instructions added, here’s what the handler implementation might look like for setting up the tasks:
func setupNext(instructions: [Instruction], for interaction: Interaction) -> [Instruction]? {
	var ongoingInstructionsToReturn : [Instruction] = []
	for instruction in instructions {
		switch instruction.verb {
		case .moveTo:
			// 1.
			guard case let .specificPoint(point) = instruction.valueType else {
				continue
			}
			// 2.
			if instruction.senderID == AdventureExampleNames.npc {
				entity.component(ofType: MoveComponent.self)?.targetEntity = EntityManager.shared.entity(for: AdventureExampleNames.npc)
			} else {
				entity.component(ofType: MoveComponent.self)?.targetPoint = point
			}
			// 3.
			ongoingInstructionsToReturn.append(instruction)
		case .talkToThem:
			// 4.
			let spriteSize = EntityManager.shared.entity(for: AdventureExampleNames.npc)?.component(ofType: SpriteComponent.self)?.sprite.size ?? .zero
			let spritePosition = EntityManager.shared.entity(for: AdventureExampleNames.npc)?.component(ofType: NodeComponent.self)?.node.position ?? .zero
			// 5.
			if let label = EntityManager.shared.entity(for: AdventureExampleNames.dialogueLabel) {
				label.component(ofType: LabelComponent.self)?.label.position = CGPoint(x: spritePosition.x , y: spritePosition.y + (spriteSize.height / 2) + 50)
				label.component(ofType: LabelComponent.self)?.label.text = "Hello! My name is Yellow!"
				label.component(ofType: LabelComponent.self)?.label.fontColor = .black
				label.component(ofType: LabelComponent.self)?.label.isHidden = false
			}
			ongoingInstructionsToReturn.append(instruction)
		}
	}
	return (ongoingInstructionsToReturn.isEmpty ? nil : ongoingInstructionsToReturn)
}
- Make sure that the instruction has a specific point defined so that I have somewhere to move to.
- If the sender is the NPC character, then it’s a special case and should be handled differently (the player needs to stand next to the character, at the same baseline level).
- Otherwise, I can just set the target point on the move component
- Get some information about the NPC sprite’s size and position so I can position the label
- Show a label entity above the NPC sprite with the words that it is speaking (in a real game, this would be handled by the dialogue component)
Here’s how the isTaskFinished(_:elapsed:) method might look:
public func isTaskFinished(_ task: Instruction, elapsed seconds : TimeInterval) -> Bool {
	if task.verb == .moveTo {
		// 1.
		return self.entity?.component(ofType: MoveComponent.self)?.targetPoint == nil
	}
	if task.verb == .talkToIt {
		// 2.
		if seconds > 3 {
			EntityManager.shared.entity(for: "Label")?.component(ofType: LabelComponent.self)?.label.isHidden = true
			return true
		} else {
			return false
		}
	}
	return true
}
- If the
targetPointis nil, that means that theMoveComponenthas completed its movement - This uses the
secondsparameter of the method to check how long the label has been shown. If it’s more than 3 seconds, then hide the label and let the system know this set of instructions has been completed

Once the verbs are defined like this, they can be used again for every NPC character in the game.
All games receive some sort of input and those inputs are used to change the properties of entities within the game. This system standardises those input methods across the Apple platforms and create a straightforward and easily readable way of letting entities detect these inputs and send instructions to each other.
They go beyond what’s currently possible with the SKAction class as they use a standard syntax that can be adopted by any node type to respond directly to player input (i.e. I don’t need to create specific subclasses of nodes to respond to input events in specific ways).
Abstracting these inputs means that games developed using this system will be support both macOS and iOS (and potentially tvOS, although I haven’t added this yet) with almost no additional work required.
I am currently in the process of developing a few test games to put this new system through its paces but so far it has been incredibly straightforward and allows for some amazingly complex interactions.

