My puzzle pieces can be moved around and now I want them to snap in to place when the player gets them close enough to their correct location.
I’ll start by adding a new file called SnappingComponent.swift, then I’ll replace the contents with:
import GameplayKit
import SpriteKit
class SnappingComponent : GKComponent {
	let positionTolerance : CGFloat = 100
}
This is a straightforward property that can be tweaked to balance the difficulty.
It will need a system to apply it, however. Following my conventions for ECS in SpriteKit, I’ll add another file called SnappingComponent+Snap.swift and replace its contents with:
import SpriteKit
extension SnappingComponent {
	override func update(deltaTime seconds: TimeInterval) {

		// 1.
		guard let positionComponent = entity?.component(ofType: PositionComponent.self) else { return }

		// 2.
		guard let interactionComponent = entity?.component(ofType: InteractionComponent.self), interactionComponent.state == .none else { return }

		// 3.
		let vector = positionComponent.currentPosition - positionComponent.targetPosition

		// 4.
		let hyp = sqrt(( vector.x * vector.x ) + (vector.y + vector.y))

		// 5.
		if hyp < self.positionTolerance {
			positionComponent.currentPosition = positionComponent.targetPosition
		}
	}
}
- If the entity doesn’t have a position component, then there’s nothing to be done.
- If the entity doesn’t have an interaction component, then I shouldn’t be changing its position. Similarly, if the current state of the interaction is anything other than
.none, then I don’t want to enable snapping as it indicates the player is in the process of interacting with the entity. I don’t want to make it too easy for them—they have to drop the piece before the snapping kicks in. - I’ll get the vector between the two points…
- …and calculate the hypotenuse to get the straight line distance between them.
- If the hypotenuse is less than the tolerance, then I can go ahead and set the
currentPositionto thetargetPosition, giving the snap effect.
Adding the Component
Back in GameScene.swift, I’ll add the snapping system to my array of existing systems so it looks like this:
lazy var componentSystems : [GKComponentSystem] = {
	let spriteCompSystem = GKComponentSystem(componentClass: SpriteComponent.self)
	let snappingSystem = GKComponentSystem(componentClass: SnappingComponent.self)
	let interactionCompSystem = GKComponentSystem(componentClass: InteractionComponent.self)
	return [interactionCompSystem, snappingSystem, spriteCompSystem]
}()
Remember that order matters, and I want the snapping to occur after the interactions have finished but before the sprite’s position is finally updated.
Finally, I’ll add the new component to the puzzle pieces, right below let interactionComponent = InteractionComponent():
let snappingComponent = SnappingComponent()
puzzlePiece.addComponent(snappingComponent)
Build and run:
Marvellous!
Randomising the Start Positions
Randomising the y-position of the pieces is straightforward—pick a number between 0 and the height of the scene.
However, I have to be more careful with the x-position. The size of the scene is based on the iPhone X’s 19.5:9 ratio. However, on iPhones Eight the visible area is a 16:9 inset of this centred around the scene’s middle. On iPads, it’s an even smaller 4:3 rectangle.
If I don’t account for that, I could end up randomly placing pieces outside the visible area, meaning the players can’t get to them. Not very fair.
In GameScene.swift, after the opening brace of didMove(to:), I’ll add:
// 1.
let height = self.size.height

// 2.
let width43 = floor((self.size.height / 3 ) * 4)

// 3.
let leftMargin = floor(( self.size.width - width43) / 2)

// 4.
let yRandomiser = GKRandomDistribution(lowestValue: 0, highestValue: Int(height))
let xRandomiser = GKRandomDistribution(lowestValue: Int(leftMargin) , highestValue: Int(leftMargin) + Int(width43))
- The height will be the scene’s height on all devices, so this is an easy one.
- The visible width, however, is different to the scene’s width on iPhones Eight and iPads. The smallest visible rectangle is 4:3 (in landscape), so I’ll divide the height by 3 and multiply it by four (then round it down) to get the maximum width I can use for the random distribution.
- The random distribution can’t start from the very left edge, as this will be outside the visible area on some devices. To calculate the margin from the left edge, I take the 4:3 width and subtract it from the total width, then divide the remainder by two to get the margin for one side only.
- I set up the two randomisers for my x and y values. The minimum value for the xRandomiser the left margin and the maximum is the left margin plus the 4:3 width. This should ensure that all pieces appear in the visible area on all devices.
In the puzzle piece for loop, I’ll replace let positionComponent = PositionComponent(currentPosition: piece.position, targetPosition: piece.position) with:
let randomX = CGFloat(xRandomiser.nextInt())
let randomY = CGFloat(yRandomiser.nextInt())
let positionComponent = PositionComponent(currentPosition: CGPoint(x: randomX, y: randomY), targetPosition: piece.position)
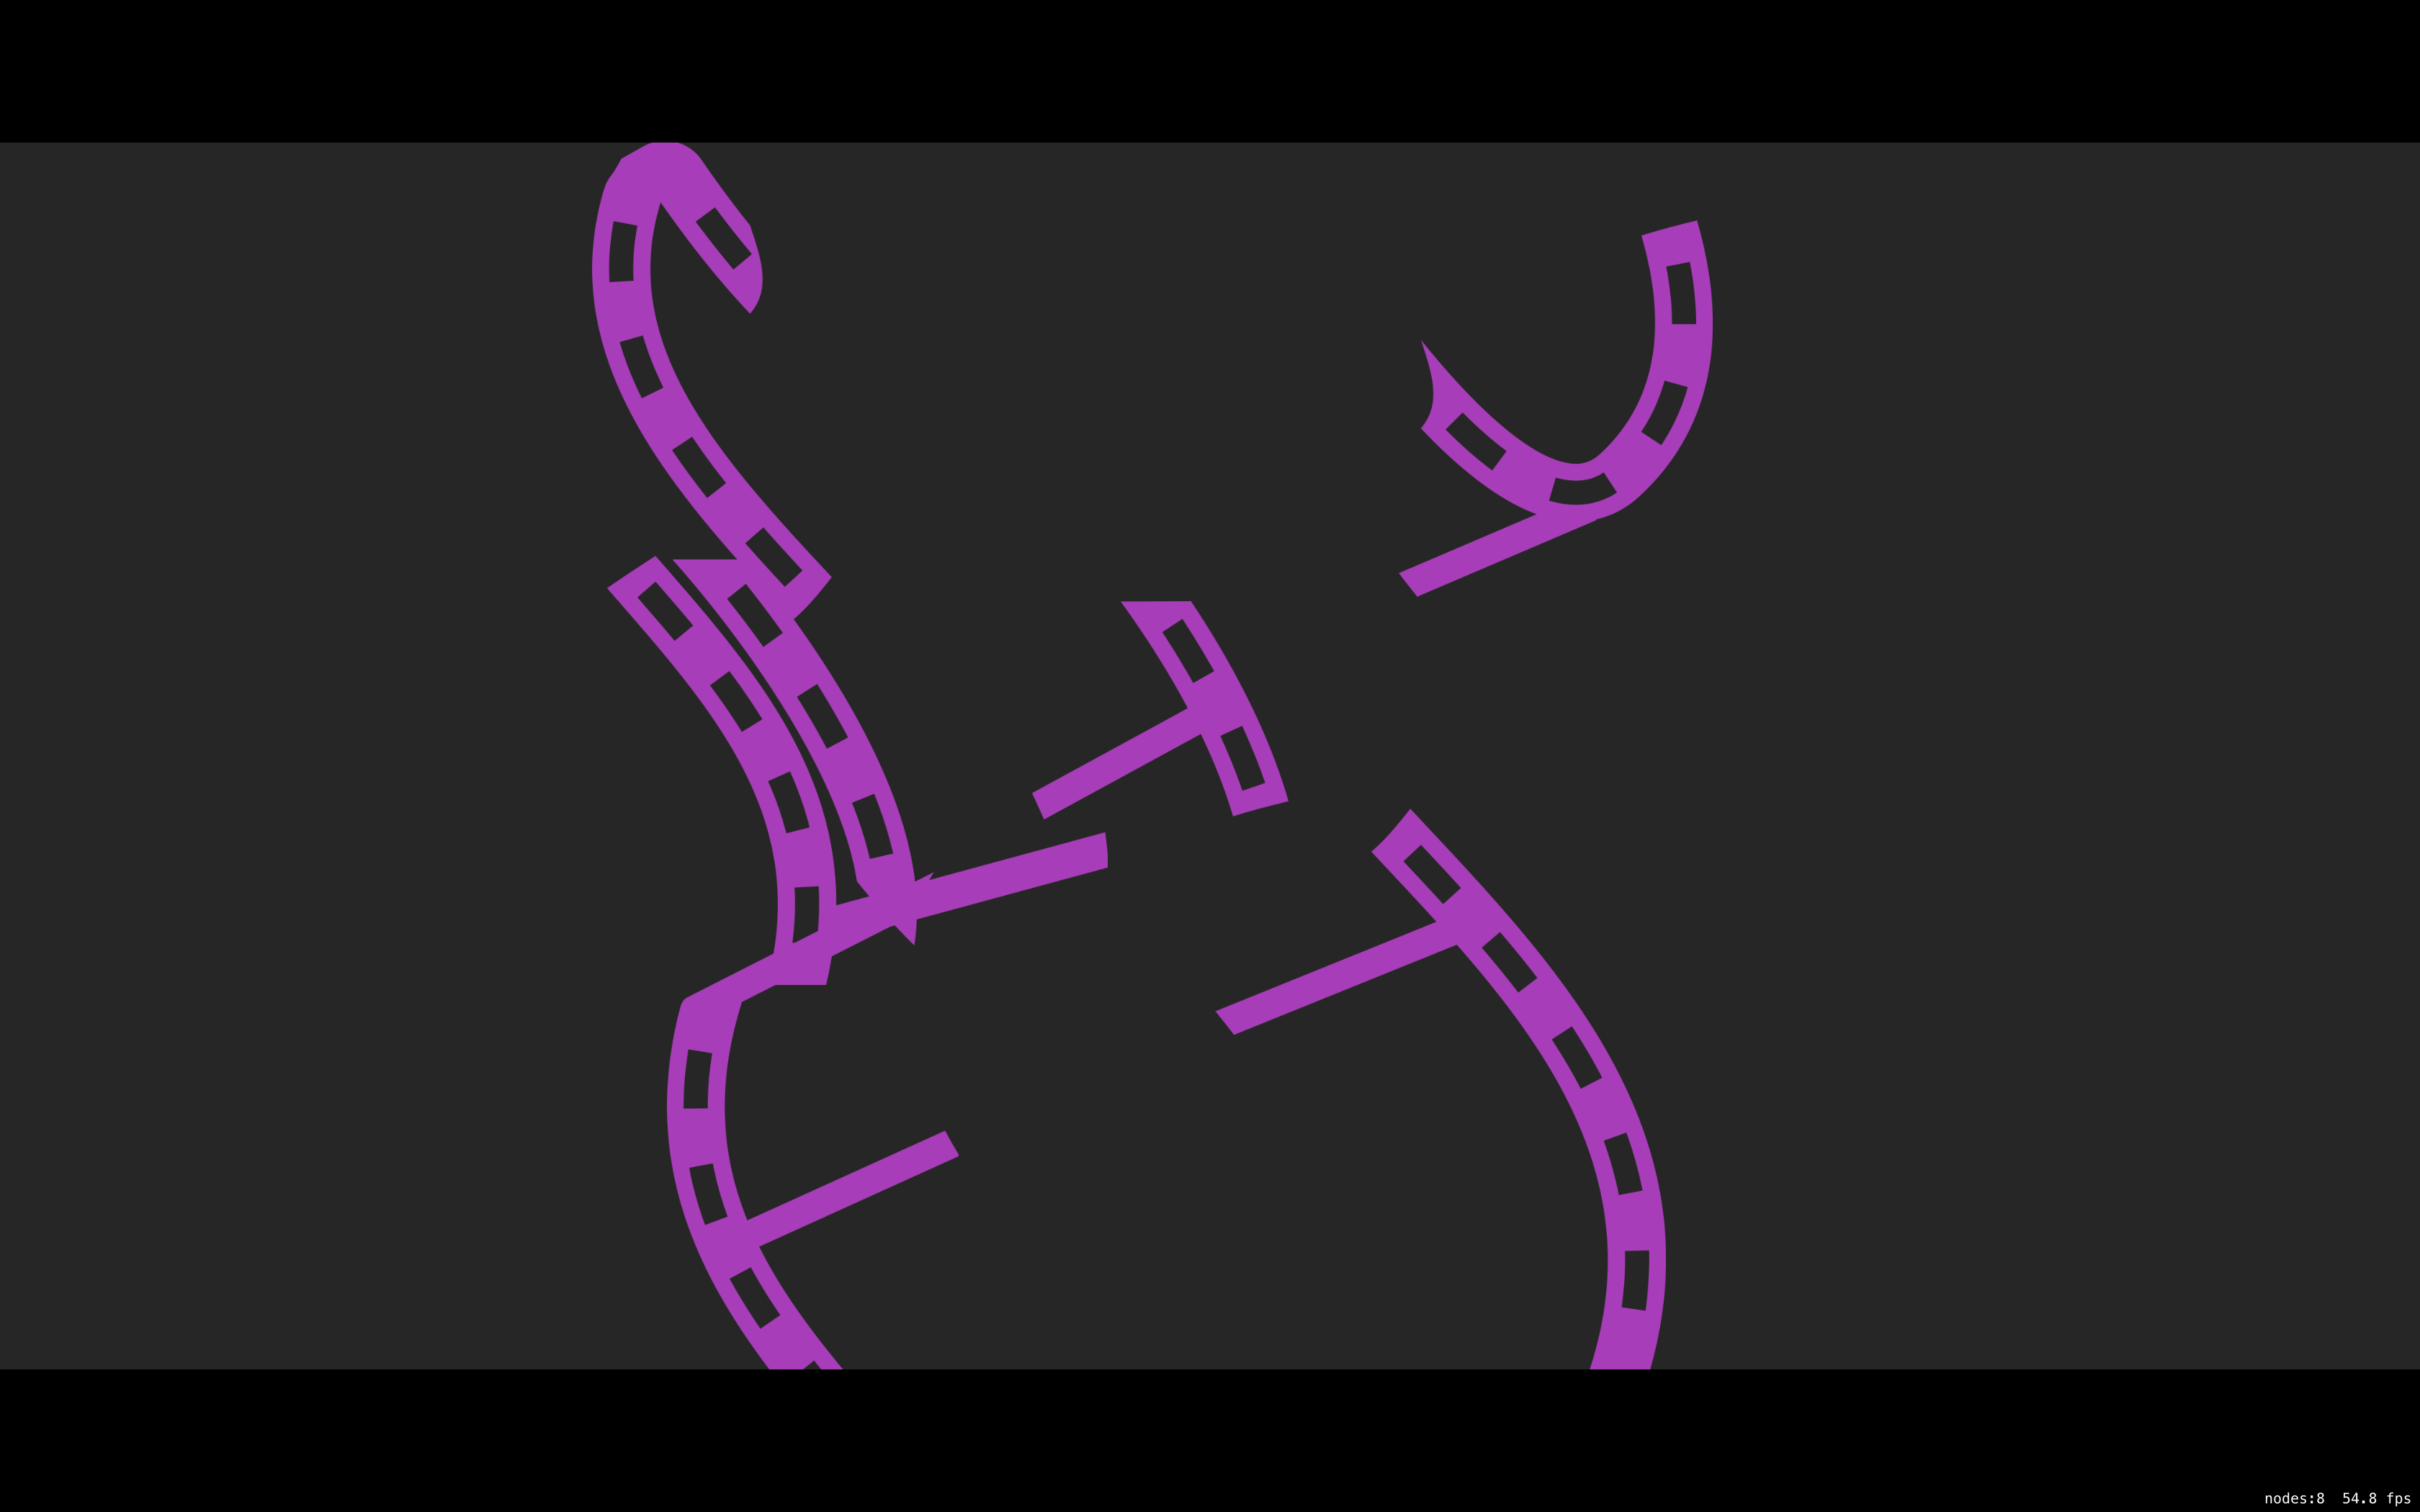
Build and run and the game now starts out like this:
Handling Win Conditions
Now that I have snapping and a starting state, I need to decide what happens when a player wins.
The original purpose of this puzzle game was to be a mini-game within the context of a larger adventure. However, it wouldn’t be that hard to add support for multiple puzzles and then transition between them, so I’ll do that first.
In order to avoid the game scene and the view controller from being too tightly coupled, I’m going to move the scene set up code into a static method on the game scene itself. This will allow either the view controller or the currently running scene to request a new scene and have it all set up correctly.
The scenes get loaded differently on macOS and iOS, so I’ll add the static methods to each of the extensions that target the different platforms.
iOS
In GameScene+touch.swift, I’ll add the following method:
// 1.
static func scene(named : String ) -> GameScene {

	// 2.
	let puzzle = Puzzle(fileNamed: named)
	let sceneSize : CGSize
	if UIDevice.current.userInterfaceIdiom == .pad {
		if let hasPuzzle = puzzle, hasPuzzle.type == "vector" {
			sceneSize = CGSize(width: 2219, height: 1024)
		} else {
			sceneSize = CGSize(width: 4438, height: 2048)
		}
	} else {
		if let hasPuzzle = puzzle, hasPuzzle.type == "vector" {
			sceneSize = CGSize(width: 1109, height: 512)
		} else {
			sceneSize = CGSize(width: 2219, height: 1024)
		}
	}

	// 3.
	let scene = GameScene(size: sceneSize)
	scene.scaleMode = .aspectFill
	scene.puzzle = puzzle
	return scene
}
- This will be a static method as I want to guarantee some configuration of the scene. It will take the filename of the JSON file that has the puzzle’s data.
- The rest of this method is the same as what I previously wrote in the
GameViewController. It checks whether it’s running on an iPad and what type the original puzzle images were then configures the scene based on that information. - I initialise the scene then configure it to have the Puzzle already attached and to force the
scaleModeto beaspectFillbefore returning the configured scene.
In the iOS GameViewController.swift, I’ll replace the current viewDidLoad() with:
override func viewDidLoad() {
	super.viewDidLoad()

	// 1.
	let filename : String
	if UIDevice.current.userInterfaceIdiom == .pad {
		filename = "pieces-iPad.json"
	} else {
		filename = "pieces.json"
	}

	// 2.
	let scene = GameScene.scene(named: filename)
	if let view = self.view as? SKView {
		view.presentScene(scene)
		view.ignoresSiblingOrder = true
		view.showsFPS = true
		view.showsNodeCount = true
	}
}
- I still need to do a device check for this first run of the game in order to load the correct puzzle data. Once this first JSON file is loaded, it’ll contain file names of other JSON files that will be set up for the same device.
- I then call the new static method to get a pre-configured GameScene object and present that.
macOS
Similarly, in GameScene+mouse.swift, I’ll add the following method to the extension:
static func scene(named: String ) -> GameScene {
	let puzzle = Puzzle(fileNamed: named)
	let scene : GameScene
	if let hasPuzzle = puzzle, hasPuzzle.type == "vector" {
		scene = GameScene(size: CGSize(width: 2019, height: 1024))
	} else {
		scene = GameScene(size: CGSize(width: 4438, height: 2048))
	}
	scene.puzzle = puzzle
	scene.scaleMode = .aspectFit
	return scene
}
Note that the method signature needs to be identical in both extensions for this to work.
Then in GameViewController.swift, I’ll replace the current viewDidLoad() method with:
override func viewDidLoad() {
	super.viewDidLoad()
	let scene = GameScene.scene(for: "pieces-iPad.json")
	self.skView.presentScene(scene)
	self.skView.ignoresSiblingOrder = true
	self.skView.showsFPS = true
	self.skView.showsNodeCount = true
}
Updating the JSON
In Puzzle.swift, I’ll add a new property to the struct:
struct Puzzle : Decodable {
	let nextPuzzle : String?
	// ... Existing properties and methods ...
}
If the JSON contains a key called “nextPuzzle”, this property will be populated with the value of that key which should correspond to the name of a puzzle file in the bundle.
With that, everything’s set up for me to be able to move from one puzzle to the next—but only if the player wins…
Checking Win Conditions
I’m going to take a bit of a shortcut here and add the win conditions and win label directly to the game scene. In a larger game, I would probably want to have a separate game manager object that kept track of the game state.
In GameScene.swift, I’ll create a new label property:
var winLabel = SKLabelNode()
I’ll add a new method:
func setupLabel() {
	self.winLabel.text = "You Win!"

	// 1.
	self.winLabel.zPosition = 100
	self.winLabel.fontColor = .white
	self.winLabel.fontName = "AvenirNextCondensed-Heavy"
	self.winLabel.fontSize = 100

	// 2.
	self.winLabel.isHidden = true

	// 3.
	self.winLabel.position = CGPoint(x: self.size.width / 2, y: self.size.height / 2)

	// 4.
	self.addChild(self.winLabel)
}
- I need to make sure that its zPosition is higher than any of the puzzle pieces so it always appears on top.
- It should start out hidden as it should only be shown when the win conditions are met.
- I’ll set its position to the centre of the scene.
- Finally, I’ll add it to a child of the scene.
Then, at the bottom of didMove(to:), I’ll call this new method to get the label set up:
self.setupLabel()
Next, at the end of the update(_:) method, I’ll check to see if all the pieces are in place:
// 1.
var hasWon = true
for entity in entities {
	if let hasPosition = entity.component(ofType: PositionComponent.self) {

	        // 2.
		if hasPosition.currentPosition != hasPosition.targetPosition {
			hasWon = false
			break
		}
	}
}

// 3.
if hasWon {
	self.handleWinCondition()
}
- I’ll start with a variable that assumes the game has already been won.
- I’ll then go through every entity and check to see if it has a position component. If it does, then I’ll check to see if its current position is different to its final position. This will mean that this piece is not in its correct place and the entire puzzle is incomplete. I can therefore set the win flag to false and break out of the loop early. Only if every piece is in its correct place will the loop complete successfully and the win flag will remain true.
- If the win flag is true, I’ll call a new method that handles the win situation:
func handleWinCondition() {

	// 1.
	self.winLabel.isHidden = false

	// 2.
	entities.forEach() { $0.removeComponent(ofType: InteractionComponent.self) }

	// 3.
	let wait = SKAction.wait(forDuration: 3)

	// 4.
	let transition = SKAction.run {

		// 5.
		let scene : GameScene
		if let hasNewPuzzle = self.puzzle.nextPuzzle {
			scene = GameScene.scene(named: hasNewPuzzle)
		} else {
			scene = GameScene(size: self.size)
			scene.puzzle = self.puzzle
			scene.scaleMode = self.scaleMode
		}

		// 6.
		let transition = SKTransition.crossFade(withDuration: 1)
		self.view?.presentScene(scene, transition: transition)
	}

	// 7.
	let newScene = SKAction.sequence([wait, transition])
	self.run(newScene)
}
- I’ll show the “You Win!” label.
- I don’t want players to be able to move the pieces once the win condition is met. I can easily disable interaction by going through each piece and removing their interaction component.
- I’ll create a
waitSKAction that does nothing for three seconds. - I’ll create a custom action that holds a block of code that will be called when this action is run.
- This custom action does the following: if the current puzzle has its
nextPuzzleproperty set, I should attempt to load that using the new static method onGameScene. If it doesn’t then, for the moment, I’ll just reload the current puzzle again. - Still within the custom action, I’ll use SpriteKit’s transition system to present this new scene with a cross fade over one second.
- Finally, I’ll use SKAction’s
sequencemethod which takes an array of other actions (in this case mywaitandrunactions) and runs them in order, waiting for the first action to complete before moving on to the next. I give this action sequence to the scene and let it run.
The wait action will allow the player bask in their glorious victory for three seconds before the custom action loads up the next puzzle.

At this point I could just start churning out puzzles, release it on the App Store, make a million bucks, and retire to Hawaii.
But I think I can make it a little more challenging than this…