Three posts in to this series and so far all I’ve done it set up Photoshop (I warned you that this was going to be excruciatingly detailed).
Finally, it is time to open up Xcode and do something with all these assets I’ve created.
I’ll start by creating a new SpriteKit game that targets iOS:
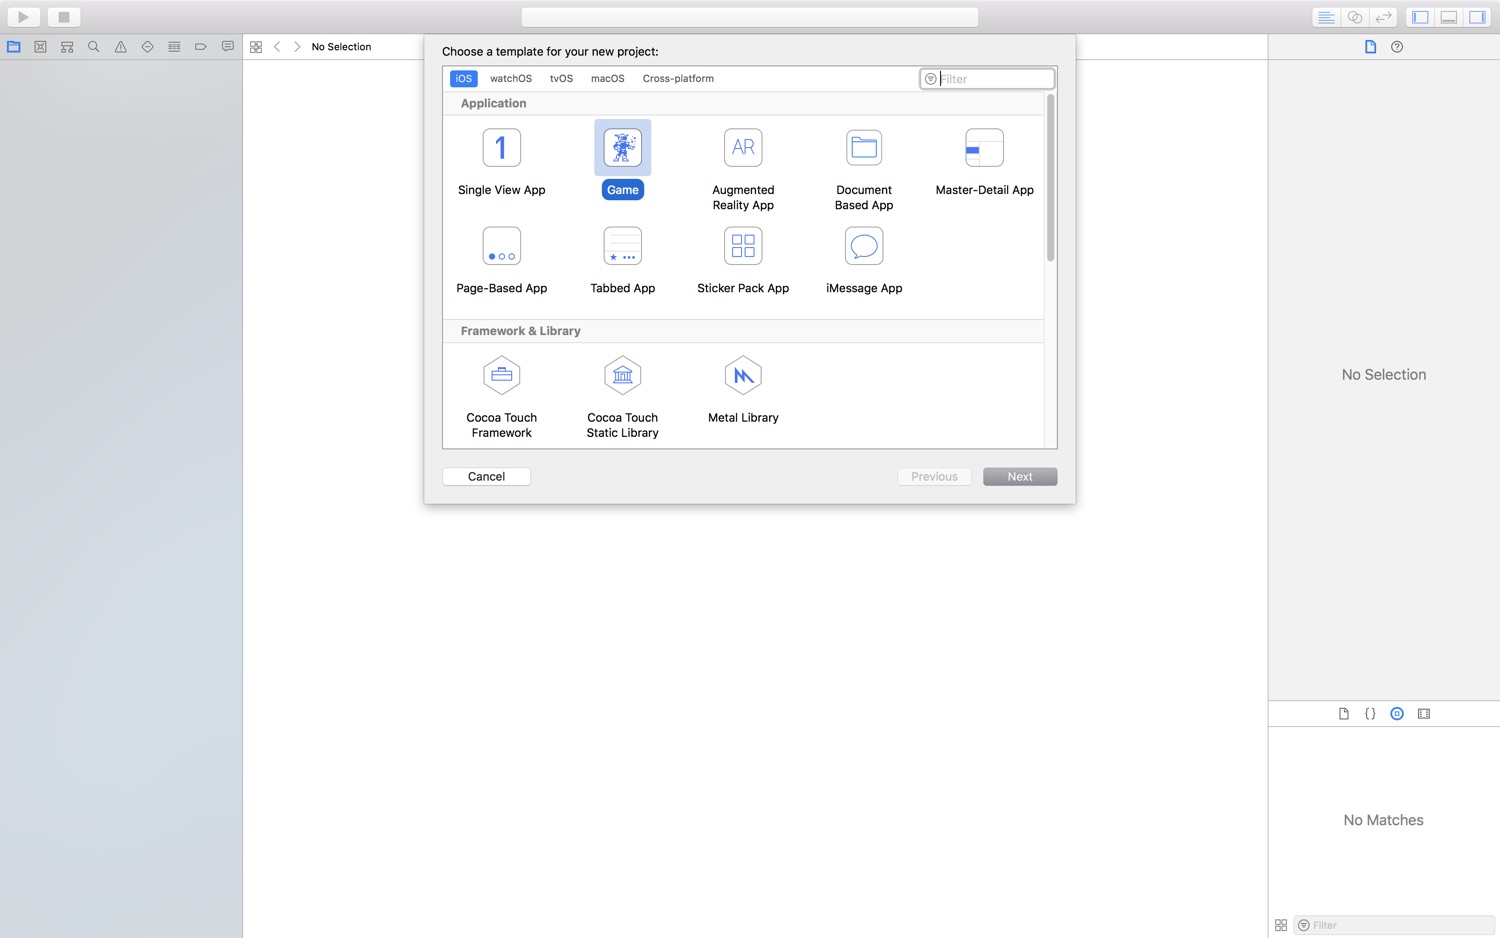
I want to use GameplayKit for its entity and component support and, to keep things simple, I don’t want Unit or UI tests.
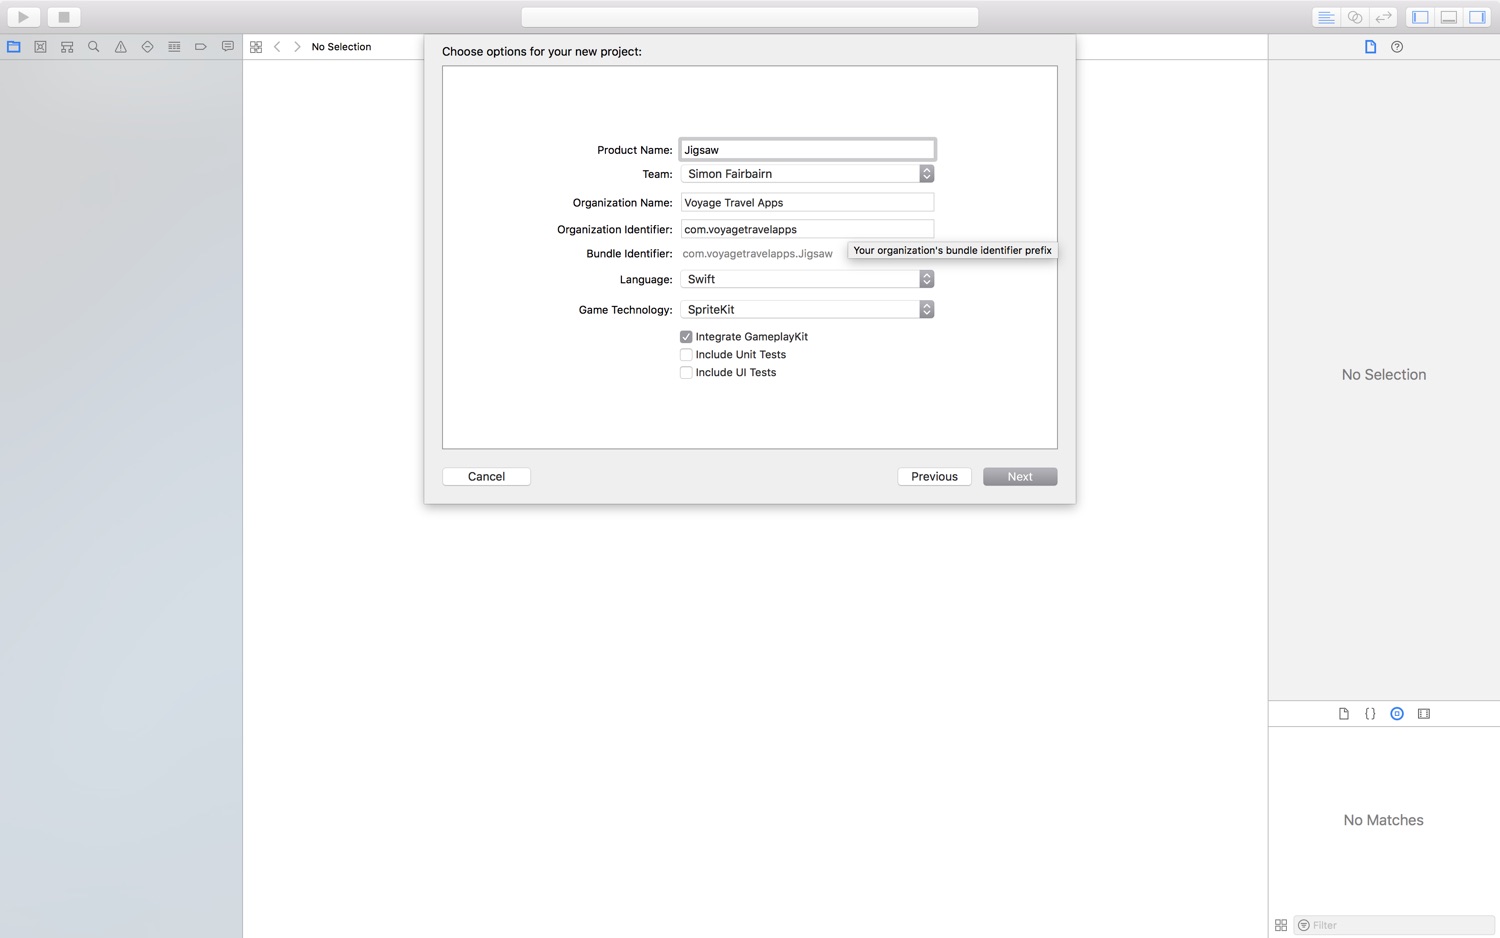
I’ll save the new project in ~/Developer/Jigsaw/ and I’ll create a new Git repository for the project. I don’t need the GameScene.sks and Actions.sks files as everything will be created in code, so these get deleted.
Adding a macOS Target
One of the advantages of SpriteKit is that it is cross-platform across macOS and iOS. While my previous posts have been focused on developing assets for just iOS, there’s no reason why we couldn’t use the iPad assets as a basis for creating a macOS version.
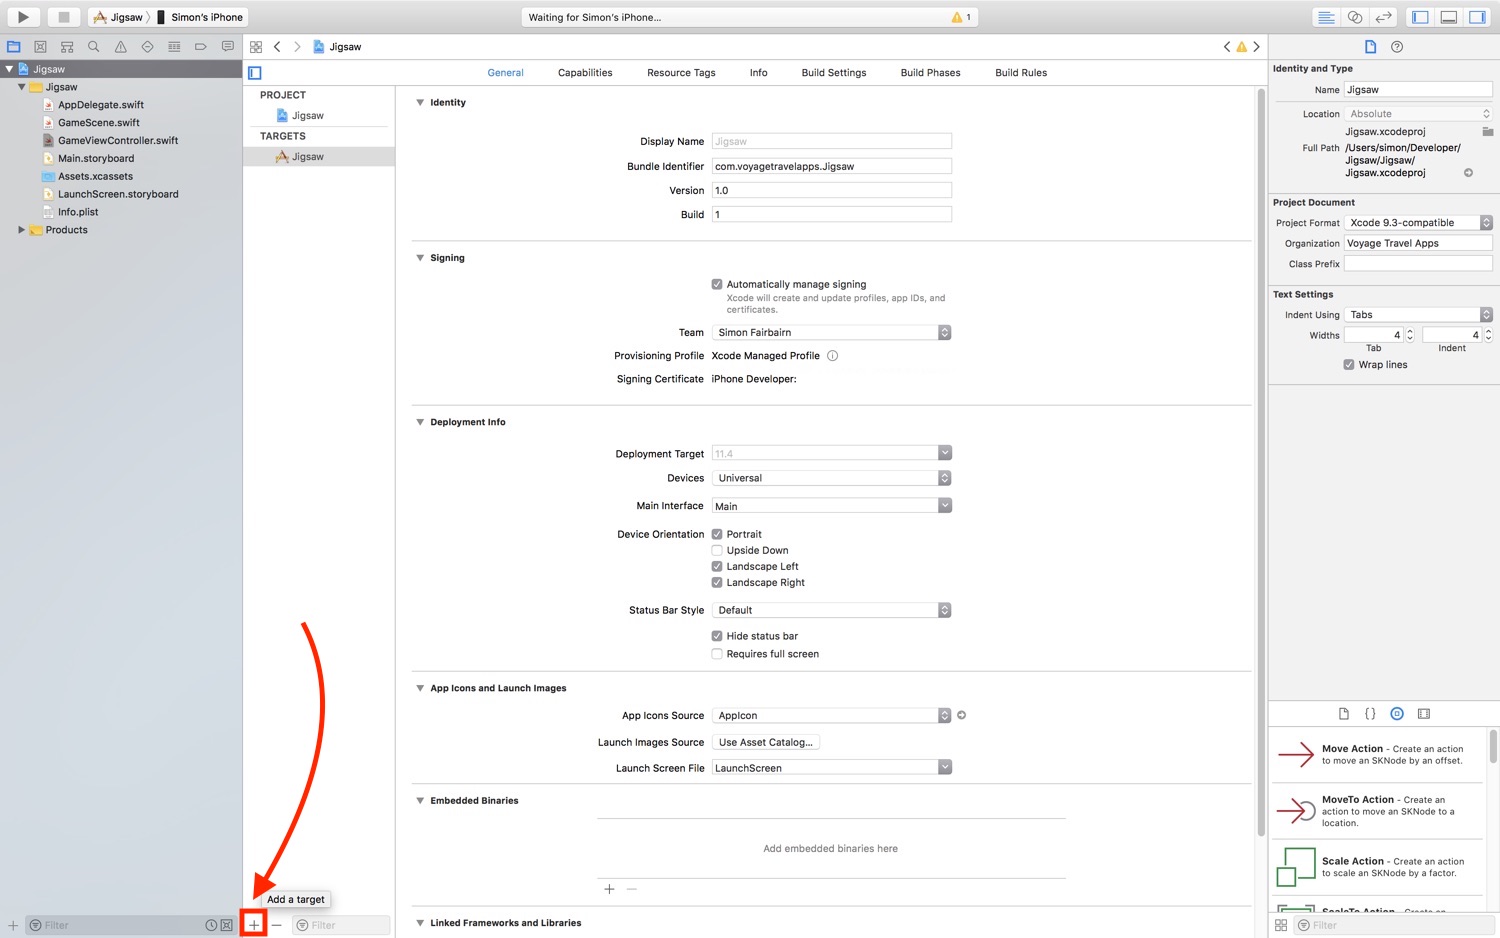
I’ll add a new target for macOS by going to the Project, then clicking on Add Target.
I make sure that macOS is selected then find Game under Application.
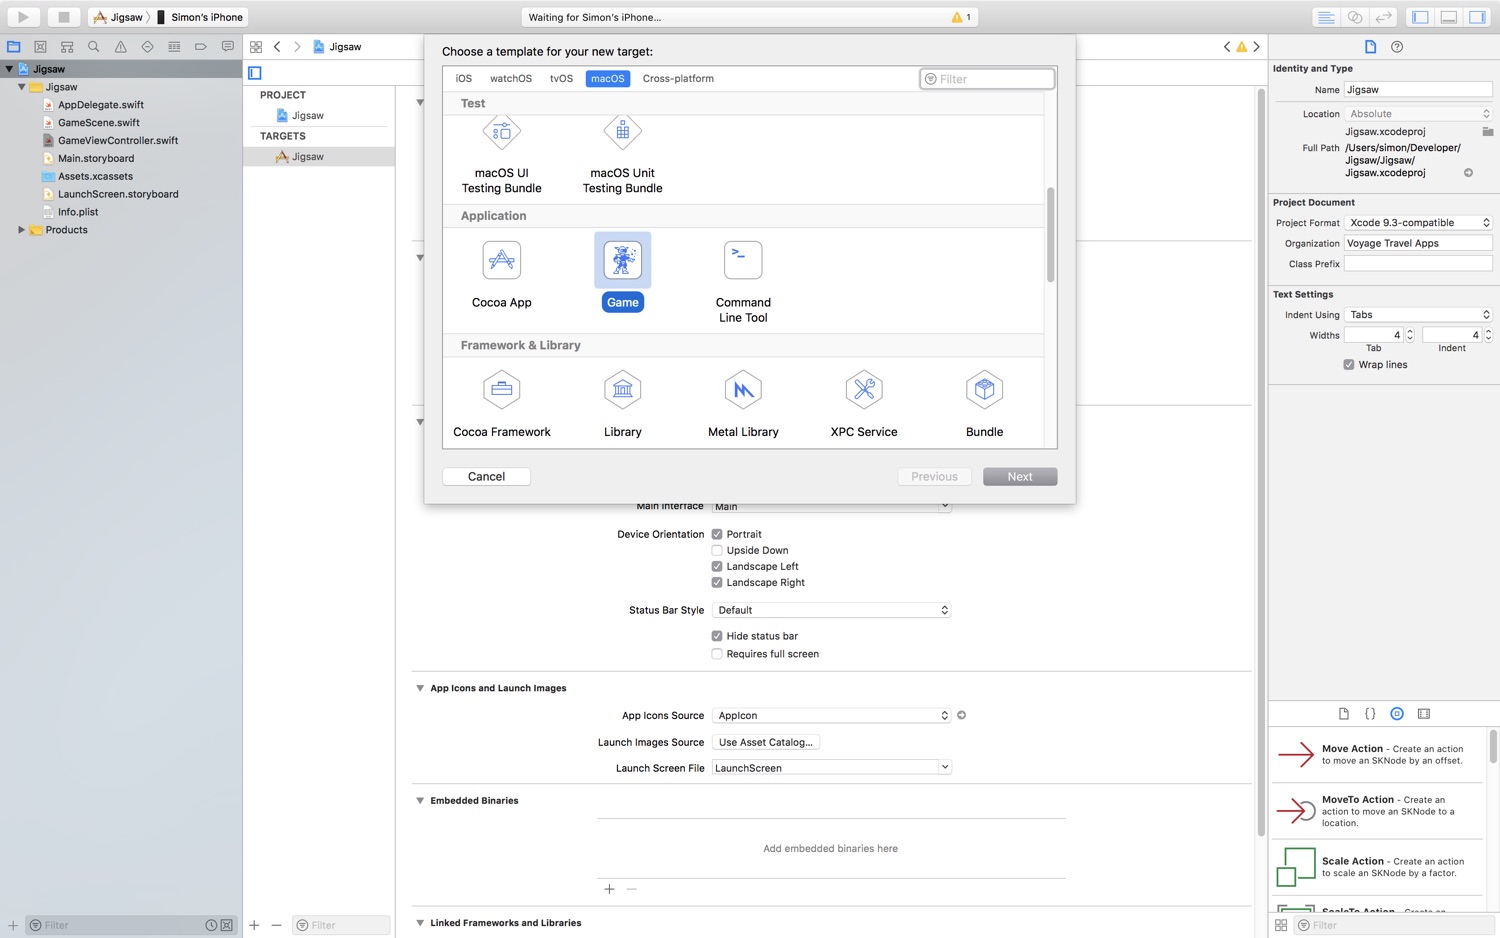
I’ll call this Jigsaw (macOS) then leave the other properties the same as the iOS target. For convenience, I’ll change the other target name to Jigsaw (iOS).
In the file explorer, I create a new group called Shared where all of the code and assets shared between the two targets will go. Then, under the Jigsaw (macOS) folder, I’ll delete the GameScene.swift, GameScene.sks, Actions.sks, and Assets.xcassets references.
I then move the remaining GameScene.swift and Assets.xcassets references from the original Jigsaw group into the new Shared group. With both these files still highlighted, I’ll check the Jigsaw (macOS) target in the Target Membership panel.
Setting Up The View Controllers
iOS
For the GameViewController.swift file in the iOS folder, the current viewDidLoad method is trying to load it’s scene from the SpriteKit Scene file that I’ve already deleted. I’ll replace that method with this:
override func viewDidLoad() {

	super.viewDidLoad()

	// 1.
	let scene = GameScene(size: CGSize(width: 4438, height: 2048))
	scene.scaleMode = .aspectFill

	// 2.
	if let view = self.view as? SKView {
		view.presentScene(scene)

		// 3.
		view.ignoresSiblingOrder = true

		// 4.
		view.showsFPS = true
		view.showsNodeCount = true
	}
}
- I set the game scene size to the largest, 19.5:9 ratio size and use the
aspectFillscale mode (see this post for more details) - I make sure the root view of the view controller is an
SKViewinstance and, if so, present the scene - Setting
ignoresSiblingOrderto true enables some SpriteKit optimisations that I can benefit from as I’ll be managing the zPosition of sprites manually - These are some debug properties that will need to be removed later
I’ll also replace the current implementation of supportedInterfaceOrientations with this:
override var supportedInterfaceOrientations: UIInterfaceOrientationMask {
	return .landscape
}
macOS
Whereas the iOS version of GameViewController had an SKView as its root view, the macOS version has it as an embedded, additional view, making the implementation of viewDidLoad slightly different:
@IBOutlet var skView: SKView!

override func viewDidLoad() {

	super.viewDidLoad()
	let scene = GameScene(size: CGSize(width: 4438, height: 2048))

	// 1.
	scene.scaleMode = .aspectFit

	// 2.
	self.skView.presentScene(scene)
	self.skView.ignoresSiblingOrder = true
	self.skView.showsFPS = true
	self.skView.showsNodeCount = true
}
- Because the Mac has resizable windows, it’s better if I use
aspectFitso that I know that no content will be cropped (it’ll be up to the user to size it appropriately). At full screen on most Macs, there will be some black bars at the top and bottom, but given the larger screen sizes of most Macs this is an acceptable tradeoff. - In this instance, the SKView property does not need to be unwrapped.
Setting Up The Game Scene
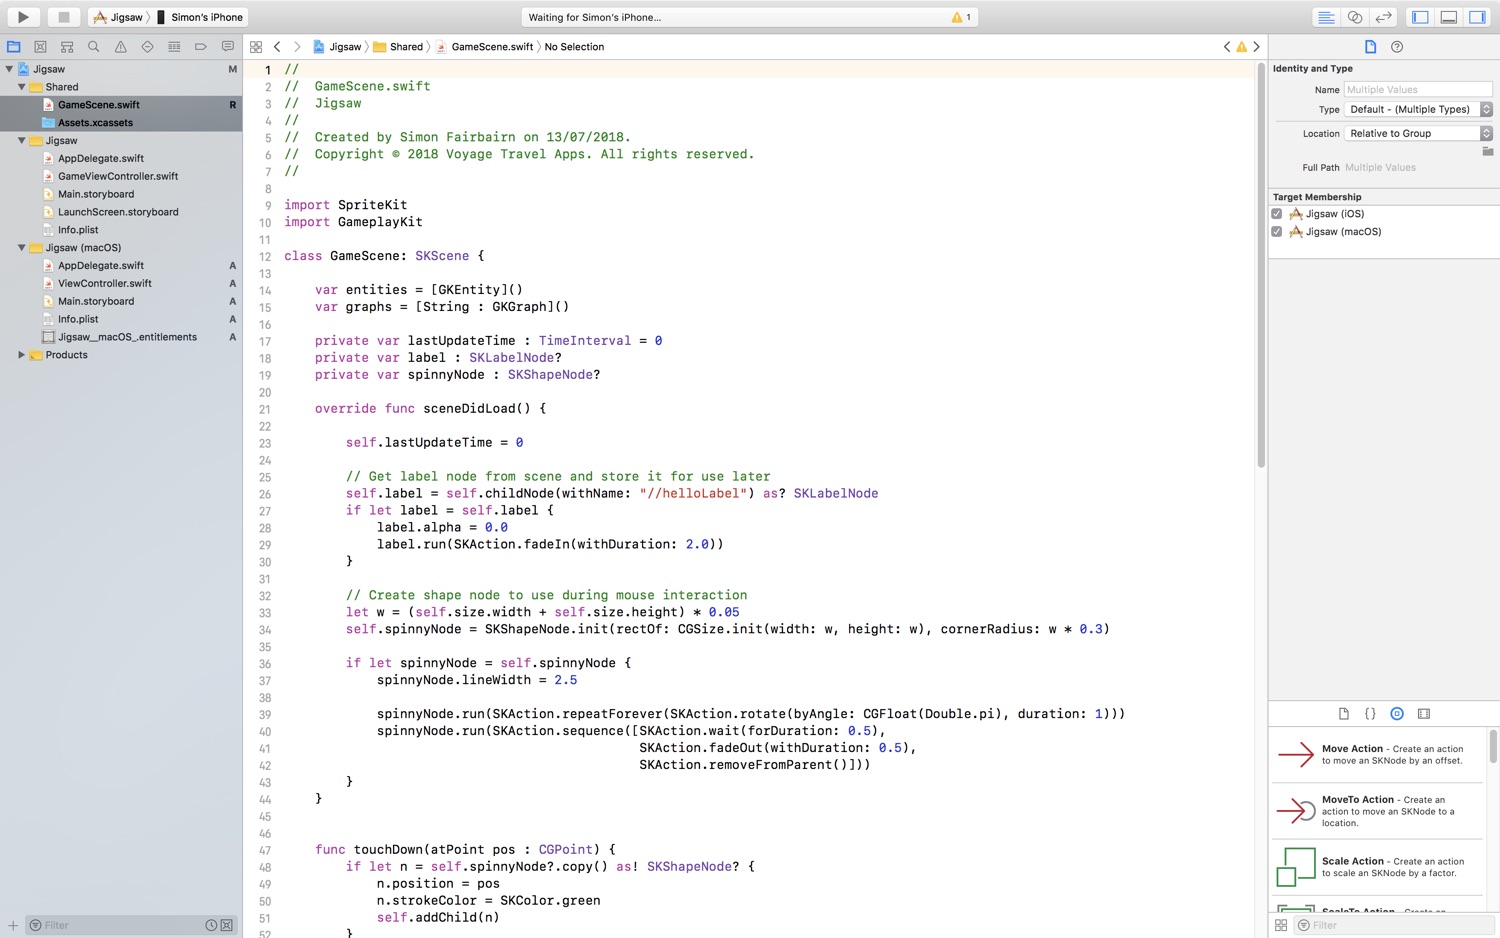
This will now run on iOS, but not on macOS. There’s some default code in the GameScene.swift file that I need to get rid of. At the moment, the properties of this SKScene File look like this:
import SpriteKit
import GameplayKit

class GameScene: SKScene {

    var entities = [GKEntity]()
    var graphs = [String : GKGraph]()
    private var lastUpdateTime : TimeInterval = 0
    private var label : SKLabelNode?
    private var spinnyNode : SKShapeNode?
	// ...
}
Starting at the top, I’ll keep the entities array but remove the graphs dictionary. I’ll also keep the lastUpdateTime property but delete the references to the label and the spinnyNode to end up with this:
import SpriteKit
import GameplayKit

class GameScene: SKScene {

    var entities = [GKEntity]()
    private var lastUpdateTime : TimeInterval = 0

    // ...
}
I’ll then replace the current sceneDidLoad implementation with this much simpler version:
override func sceneDidLoad() {
    self.lastUpdateTime = 0
}
I can then remove the touchDown(atPoint:), touchMoved(toPoint:), touchUp(atPoint:), touchesBegan(:with:), touchesMoved(:with:), touchesEnded(:with:), and touchesCancelled(:with:) methods. This will fix all the warnings on macOS.
Finally, I’ll replace the current update(:) method with the following:
override func update(_ currentTime: TimeInterval) {

	// 1.
	if (self.lastUpdateTime == 0) {
		self.lastUpdateTime = currentTime
	}

	// 2.
	let dt = currentTime - self.lastUpdateTime

	// 3.
	self.lastUpdateTime = currentTime

	// Eventually I will use the dt to update the components
}
- If the
lastUpdateTimeproperty is still 0, set it to the current time - Calculate the delta time between updates (this will be 0 on the first time through)
- Update the
lastUpdateTimewith the current time ready for the next frame
This will now build and run on Macs, iPads, and iPhones and they will all have the same lovely dark grey scene.
Now to fill that screen with stuff!
The Assets
At the moment, the game scene is the same size across all platforms. Given how long I spent making Photoshop support multiple sizes and different document types, it’d be a shame to not better optimise the game for different platforms.
However, in order to do this, I need to slightly adjust my layer naming convention. Right now, the iPhone versions of the assets are considered the universal version, meaning they’ll be used as the Mac assets as well.
The problem is that, for Mac resolutions and especially for Macs with Retina screens, the 1109×512 (vector) or even the 2219×1024 (raster) iPhone resolution is not going to be enough on a Mac at full screen.
What we want to do is use the iPad assets on the Mac (for both raster and vector-based originating documents), which means using the iPad resolution equivalents for both document types when setting up the scene.
To make setting this up easier, I need to adjust my layer naming convention so that the iPad sizes are the Universal sizes (which will also be used on the Mac) and then it’s the iPhone that gets specialised alternatives:
Raster Documents	: 	pieceX.png, 50% pieceX~iPhone.png
Vector Documents	: 	200% pieceX@2x~iPhone.png, 300% pieceX@3x~iPhone.png, 400% pieceX@2x.png
In order to test both raster and vector document types, I’ve created some test puzzle pieces using both raster and vector based images. After exporting them and generating the corresponding JSON files as explained in the previous post, I’m ready to import everything in to Xcode.
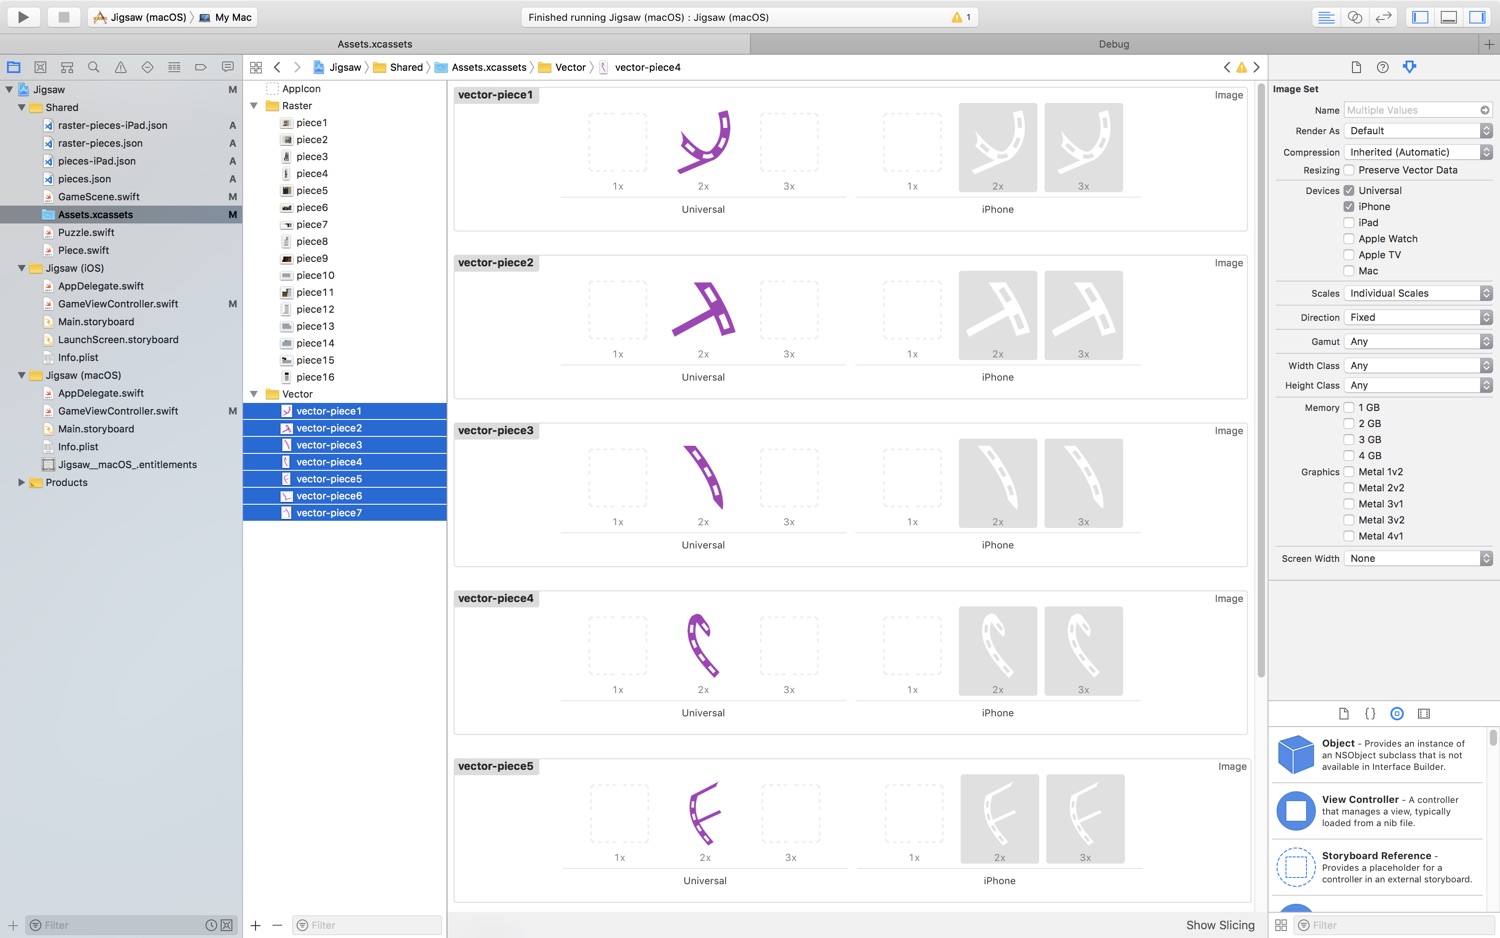
First, I’ll create two Sprite Atlas folders in the asset catalog by clicking on the + button at the bottom left of the catalog and selecting New Sprite Atlas. I’ll name one of them “Raster” and one of them “Vector”:
Next, I’ll drag in the assets into their corresponding Sprite Atlas folders.
Note: in Photoshop, I made sure that the vector pieces and the raster pieces all had different names to prevent issues with SpriteKit texture loading.
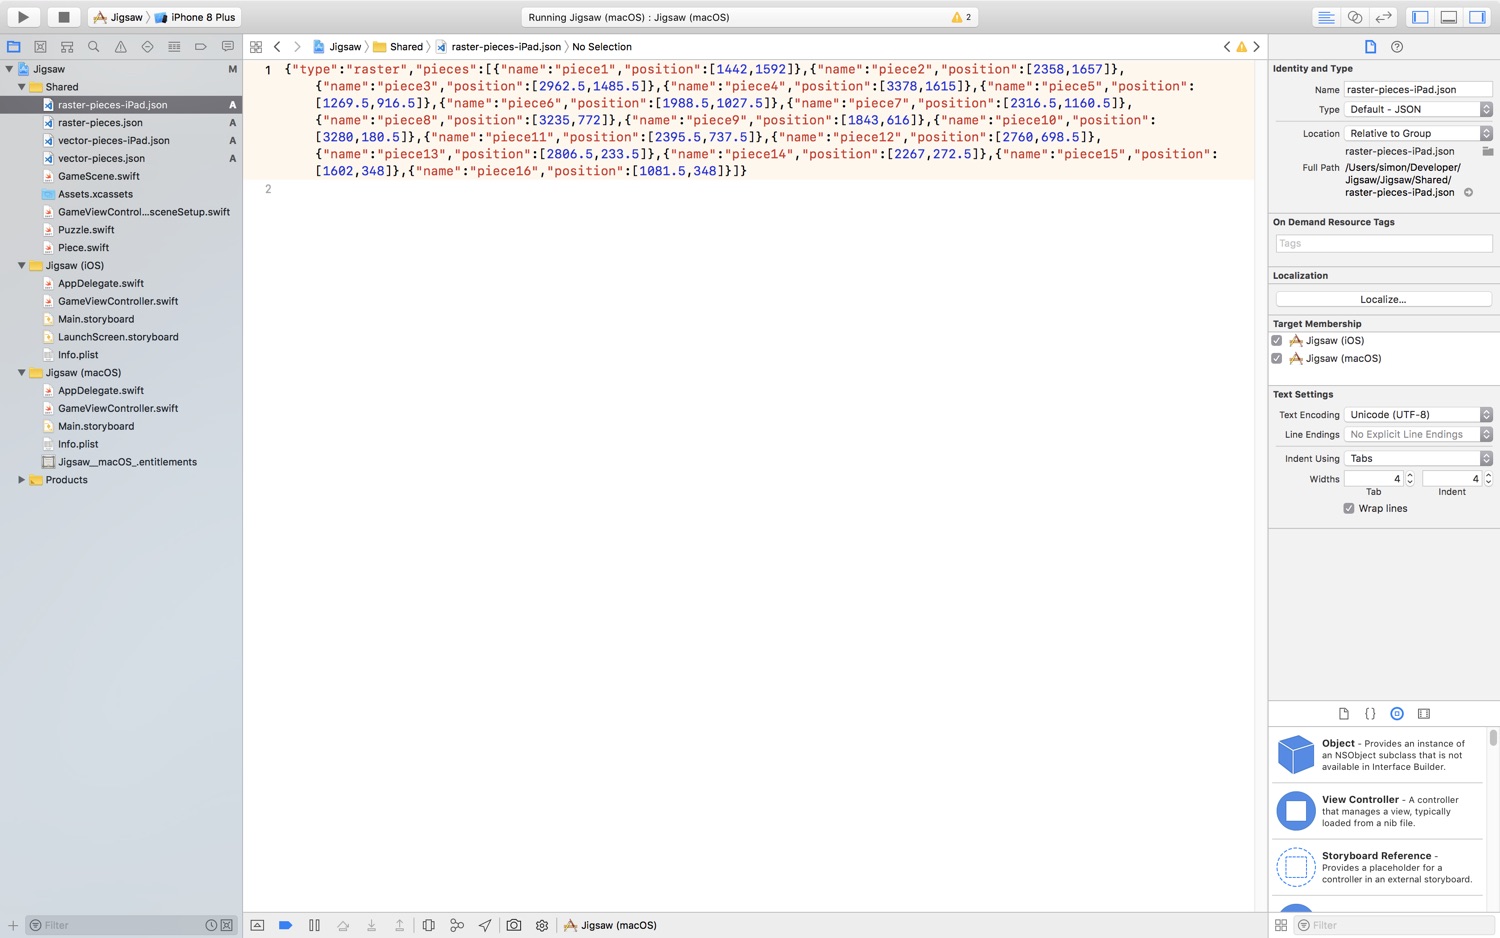
Finally, I’ll drag in the JSON files for both the vector and raster puzzles into the Shared group.
Loading the JSON
The JSON was designed with Apple’s new Codable protocol in mind. In the Shared folder, I’ll create a new file called “Piece.swift” and ensure that both targets are checked at the bottom of the create file dialog. I’ll then replace the contents with the following:
import SpriteKit

struct Piece : Decodable {
	let name : String
	let position : CGPoint
}
Next, I create another file called “Puzzle.swift” and replace the contents with:
import SpriteKit

struct Puzzle : Decodable {
	let type : String
	let pieces : [Piece]
}
Because Piece conforms to the Decodable protocol, Puzzle is able to decode the array of pieces in the JSON without any additional work on my part.
Now I need to decode the JSON. The question is where do I put the file loading and data decoding code?
When I first set up the game scene, I need to find out type of document that created the assets so that I know what size the scene should be. Those sizes are, to recap:
Raster (iPhone): 2219×1024
Raster (iPad): 4438×2048
Raster (Mac): 4438×2048
Vector (iPhone): 1109×512
Vector (iPad): 2219×1024
Vector (Mac): 2219×1024
The type of document is encoded in the JSON file and the scene is set up in GameViewController, so it makes sense to put the file reading code there.
However, if I think about how the game flow might work this makes less sense.
When the victory conditions are met, I might want to show a button that says “Next Puzzle”. When the user clicks or taps that, I want to be able to load the next JSON file from within the GameScene object itself.
In this case, it might be best to put the file loading functions as a failable initialiser within the Puzzle struct itself, in a similar way that Data(contentsOf:) and image(named:) work.
In Puzzle.swift, under the two existing properties, I’ll add this new initialiser:
init?(fileNamed resource: String) {

	// 1.
	guard let gameURL = Bundle.main.url(forResource: resource, withExtension:nil) else {
		print("File \(resource) does not exist")
		return nil
	}

	// 2.
	let gameData : Data
	do {
		gameData = try Data(contentsOf: gameURL)
	} catch {
		print("Invalid data: \(error)")
		return nil
	}

	// 3.
	let jsonDecoder = JSONDecoder()
	do {
		self = try jsonDecoder.decode(Puzzle.self, from: gameData)
	} catch {
		print("Failed to decode JSON: \(error)")
		return nil
	}
}
- First, make sure that the file actually exists in the bundle. As this is a failable initialiser, returning nil is valid here.
- Then I try to read the file into a data variable, again returning nil if the data is invalid for any reason.
- Finally, I try to decode the data and set it to self, which will populate the properties based on the decoded JSON data, returning nil again if the data is not valid JSON or does not match the
Puzzlestructure.
Handling Different Scene Sizes
Now that I can load up the JSON file into my puzzle struct, I can set up the correct scene sizes depending on the original document type.
macOS
Since I’m using the same assets on Mac as I am for the iPad, I just need to test to see if the assets are based off of a raster document or a vector document.
I’ll replace let scene = GameScene(size: CGSize(width: 4438, height: 2048)) with:
// 1.
let puzzle = Puzzle(fileNamed: "pieces-iPad.json")

// 2.
let scene : GameScene

// 3.
if let hasPuzzle = puzzle, hasPuzzle.type == "vector" {
	scene = GameScene(size: CGSize(width: 2019, height: 1024))
} else {
	scene = GameScene(size: CGSize(width: 4438, height: 2048))
}
- Create a Puzzle struct using the iPad version of the JSON file
- Create a variable to hold the scene
- If I have a valid puzzle and if that puzzle type is based on a vector document, I set the @2x dimensions of the scene. If not, I either don’t have a valid document (which I’ll deal with later) or it’s a raster-based document. If it’s a raster, then use the full dimensions.
iOS
iOS is a little more complicated but follows the same principles. We want to have different sized assets for iPhone and iPad. Not only that, but if it’s a vector document, then I want to respect the @2x or @3x device scales:
// 1.
let puzzle : Puzzle?
let sceneSize : CGSize

// 2.
if UIDevice.current.userInterfaceIdiom == .pad {

	// 3.
	puzzle = Puzzle(fileNamed: "pieces-iPad.json")

	// 4.
	if let hasPuzzle = puzzle, hasPuzzle.type == "vector" {
		sceneSize = CGSize(width: 2219, height: 1024)
	} else {
		sceneSize = CGSize(width: 4438, height: 2048)
	}
} else {

	// 5.
	puzzle = Puzzle(fileNamed: "pieces.json")
	if let hasPuzzle = puzzle, hasPuzzle.type == "vector" {
		sceneSize = CGSize(width: 1109, height: 512)
	} else {
		sceneSize = CGSize(width: 2219, height: 1024)
	}
}

// 6.
let scene = GameScene(size: sceneSize)
- Create some empty variables that will hold the final scene size and the Puzzle struct
- Find out if I’m on an iPad or not
- If I am on an iPad, see if I have a valid puzzle and if that puzzle type is based on a vector document. If so, I set the dimensions of the scene to the scene’s point size and let the system sort out the correct @2x or @3x assets based on the asset catalog buckets. If it’s not a vector document, I either don’t have a valid document (which I’ll deal with later) or it’s a raster. If it’s a raster, then use the full dimensions of the original Photoshop document and treat all assets as if they were @1x.
- Otherwise, I’m on the iPhone. Do the same check as above, except this time scale the document sizes down by 50% for the smaller device resolution (which corresponds to how I scale down the document when exporting the assets from Photoshop)
- Finally, initialise the scene with the correct dimensions based on the document and device type
Creating A Scene
I’ll open up GameScene and add the following property just below the class declaration:
var puzzle : Puzzle!
This force-unwrapped variable will hold our Puzzle struct.
In both versions of GameViewController, underneath the scene sizing code but before the SKView presents the scene, I add the following:
scene.puzzle = puzzle
By setting the optional Puzzle value to the force-unwrapped property, I am guaranteeing a crash if the JSON fails to load for any reason. At this stage especially, this is acceptable as the game is useless without the JSON data.
Getting Things to Appear On Screen
Almost there!
For this post, I’ll just create sprite nodes all of puzzle pieces and position them in their winning, final positions to make sure everything’s working properly.
In GameScene, under the property declarations, I’ll add this method:
// 1.
override func didMove(to view: SKView) {

	// 2.
	for piece in puzzle.pieces {

		// 3.
		let sprite = SKSpriteNode(imageNamed: piece.name)
		sprite.position = piece.position
		self.addChild(sprite)
	}
}
- This method is called once, when the scene is first added to SKView (by the
presentScene(:)method in the view controllers). - Go through each piece. If something has gone wrong in setting up the initial puzzle document, the game will crash here.
- I create a sprite node by using the image name in the JSON file (which should correspond to an asset in our asset catalog), set the position using the piece’s position property, then add it to the scene.


Success! I have my “game” running on three different devices, showing the correct assets on each!
Of course, loading up a puzzle game and having the puzzle already be solved is no fun so next up is using Entities and Components to add interactivity.